Configuring the Development Environment
Cleaning Up the Boilerplate Code
Let’s clean up the boilerplate code that was generated by Vite. We will delete the counter.js file and the two SVG files. We will also clear the contents of main.js and style.css. Since Vite now places source files in the src directory, we will work there.
rm src/counter.js
rm src/javascript.svg
rm public/vite.svg
echo "" > src/main.js
echo "" > src/style.css
Move the favicon.png file (from the template) into the public folder:
mv favicon.png public/
Setting Up main.js
We will import the CSS file in src/main.js and include some sample code to display “Hello World!” in the browser.
import "./style.css";

const app = document.getElementById("app");
app.innerHTML = `<div>Hello World!</div>`;
Next, we will update the index.html file to reflect the changes. We will link to our favicon and change the title of the page to “ToDo App”. We will also update the script tag to point to the main.js file in the src directory.
<!doctype html>
<html lang="en">
  <head>
    <meta charset="UTF-8" />
    <link rel="icon" type="image/png" href="/favicon.png" />
    <meta name="viewport" content="width=device-width, initial-scale=1.0" />
    <title>ToDo App</title>
  </head>
  <body>
    <div id="app"></div>
    <script type="module" src="/src/main.js"></script>
  </body>
</html>
Run the app with the following command.
pnpm dev
Then point your browser (Firefox Developer Edition) to http://localhost:5173/ to view the app.
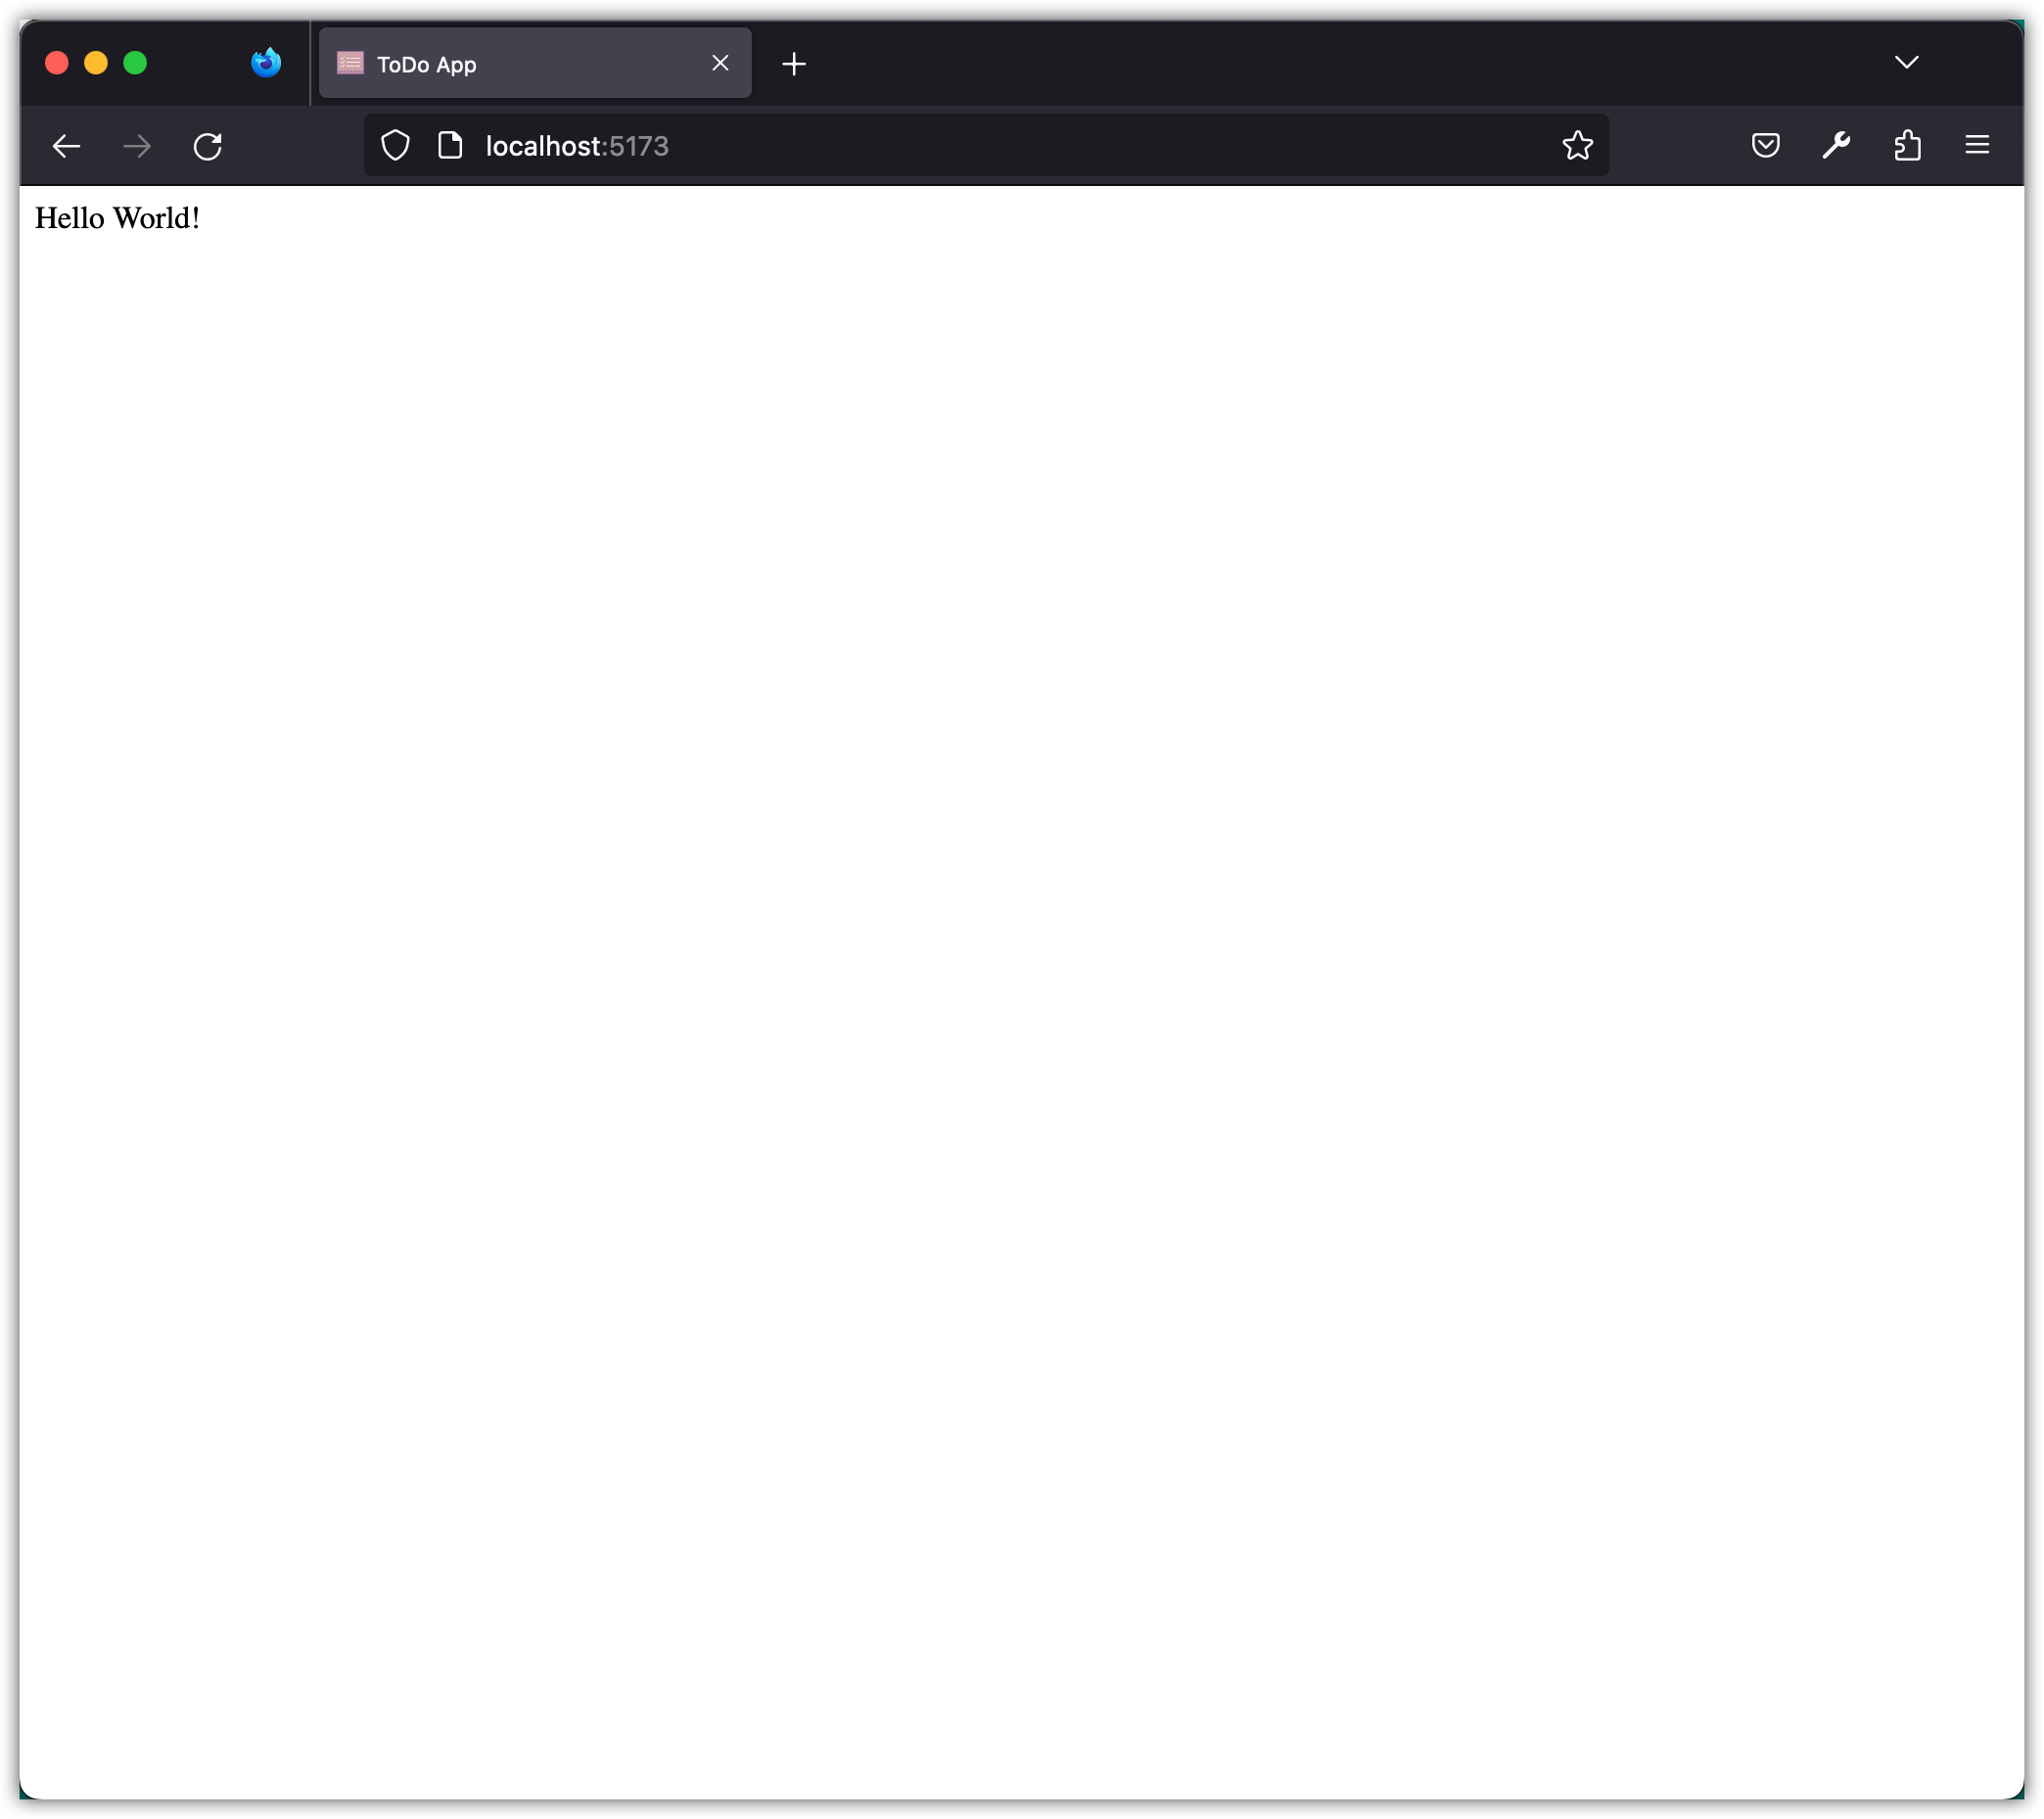
Aside: In this section, we used JavaScript to add style and HTML elements to the index.html file. The index.html file itself only contains a single div element with an id of app. So JavaScript can change both the content and the appearance of a page while the page is running.
Installing Tailwind CSS
Next, we will install Tailwind CSS. We will use pnpm to install it as a development dependency. Tailwind CSS v4 includes a first-party Vite plugin.
pnpm install -D tailwindcss @tailwindcss/vite
Tailwind CSS is a utility-first CSS framework. It gives us pre-built CSS classes that we combine to style an element, so we can put a user interface together faster. Without it, we end up writing the same CSS over and over for common UI patterns such as margins, paddings, and typography. Tailwind CSS gives us reusable utility classes for those patterns instead.
There are several reasons to use Tailwind CSS instead of writing plain CSS files. We do not have to write custom CSS for every UI element, which saves a lot of time and effort. The classes are standardized, so the design stays consistent across projects. The CSS file stays smaller, because only the styles we actually use are included, rather than a large set of rules that may never be used. Responsive design is easier, because Tailwind CSS has built-in responsive utility classes. And it is easy to customize, since we can add to or modify the existing classes to fit what we need.
Traditional CSS frameworks like Bootstrap give us pre-built components and styles. Tailwind CSS gives us utility classes that we use to build our own designs. That gives us more flexibility and more control over how the application looks, and the codebase is still consistent and maintainable.
After installing Tailwind CSS, we need to configure Vite to use the Tailwind plugin. Create a vite.config.js file in the project root with the following content:
import { defineConfig } from "vite";
import tailwindcss from "@tailwindcss/vite";

export default defineConfig({
  plugins: [tailwindcss()],
});
Next, we will include Tailwind CSS in our stylesheet. Add the following line to the src/style.css file:
@import "tailwindcss";
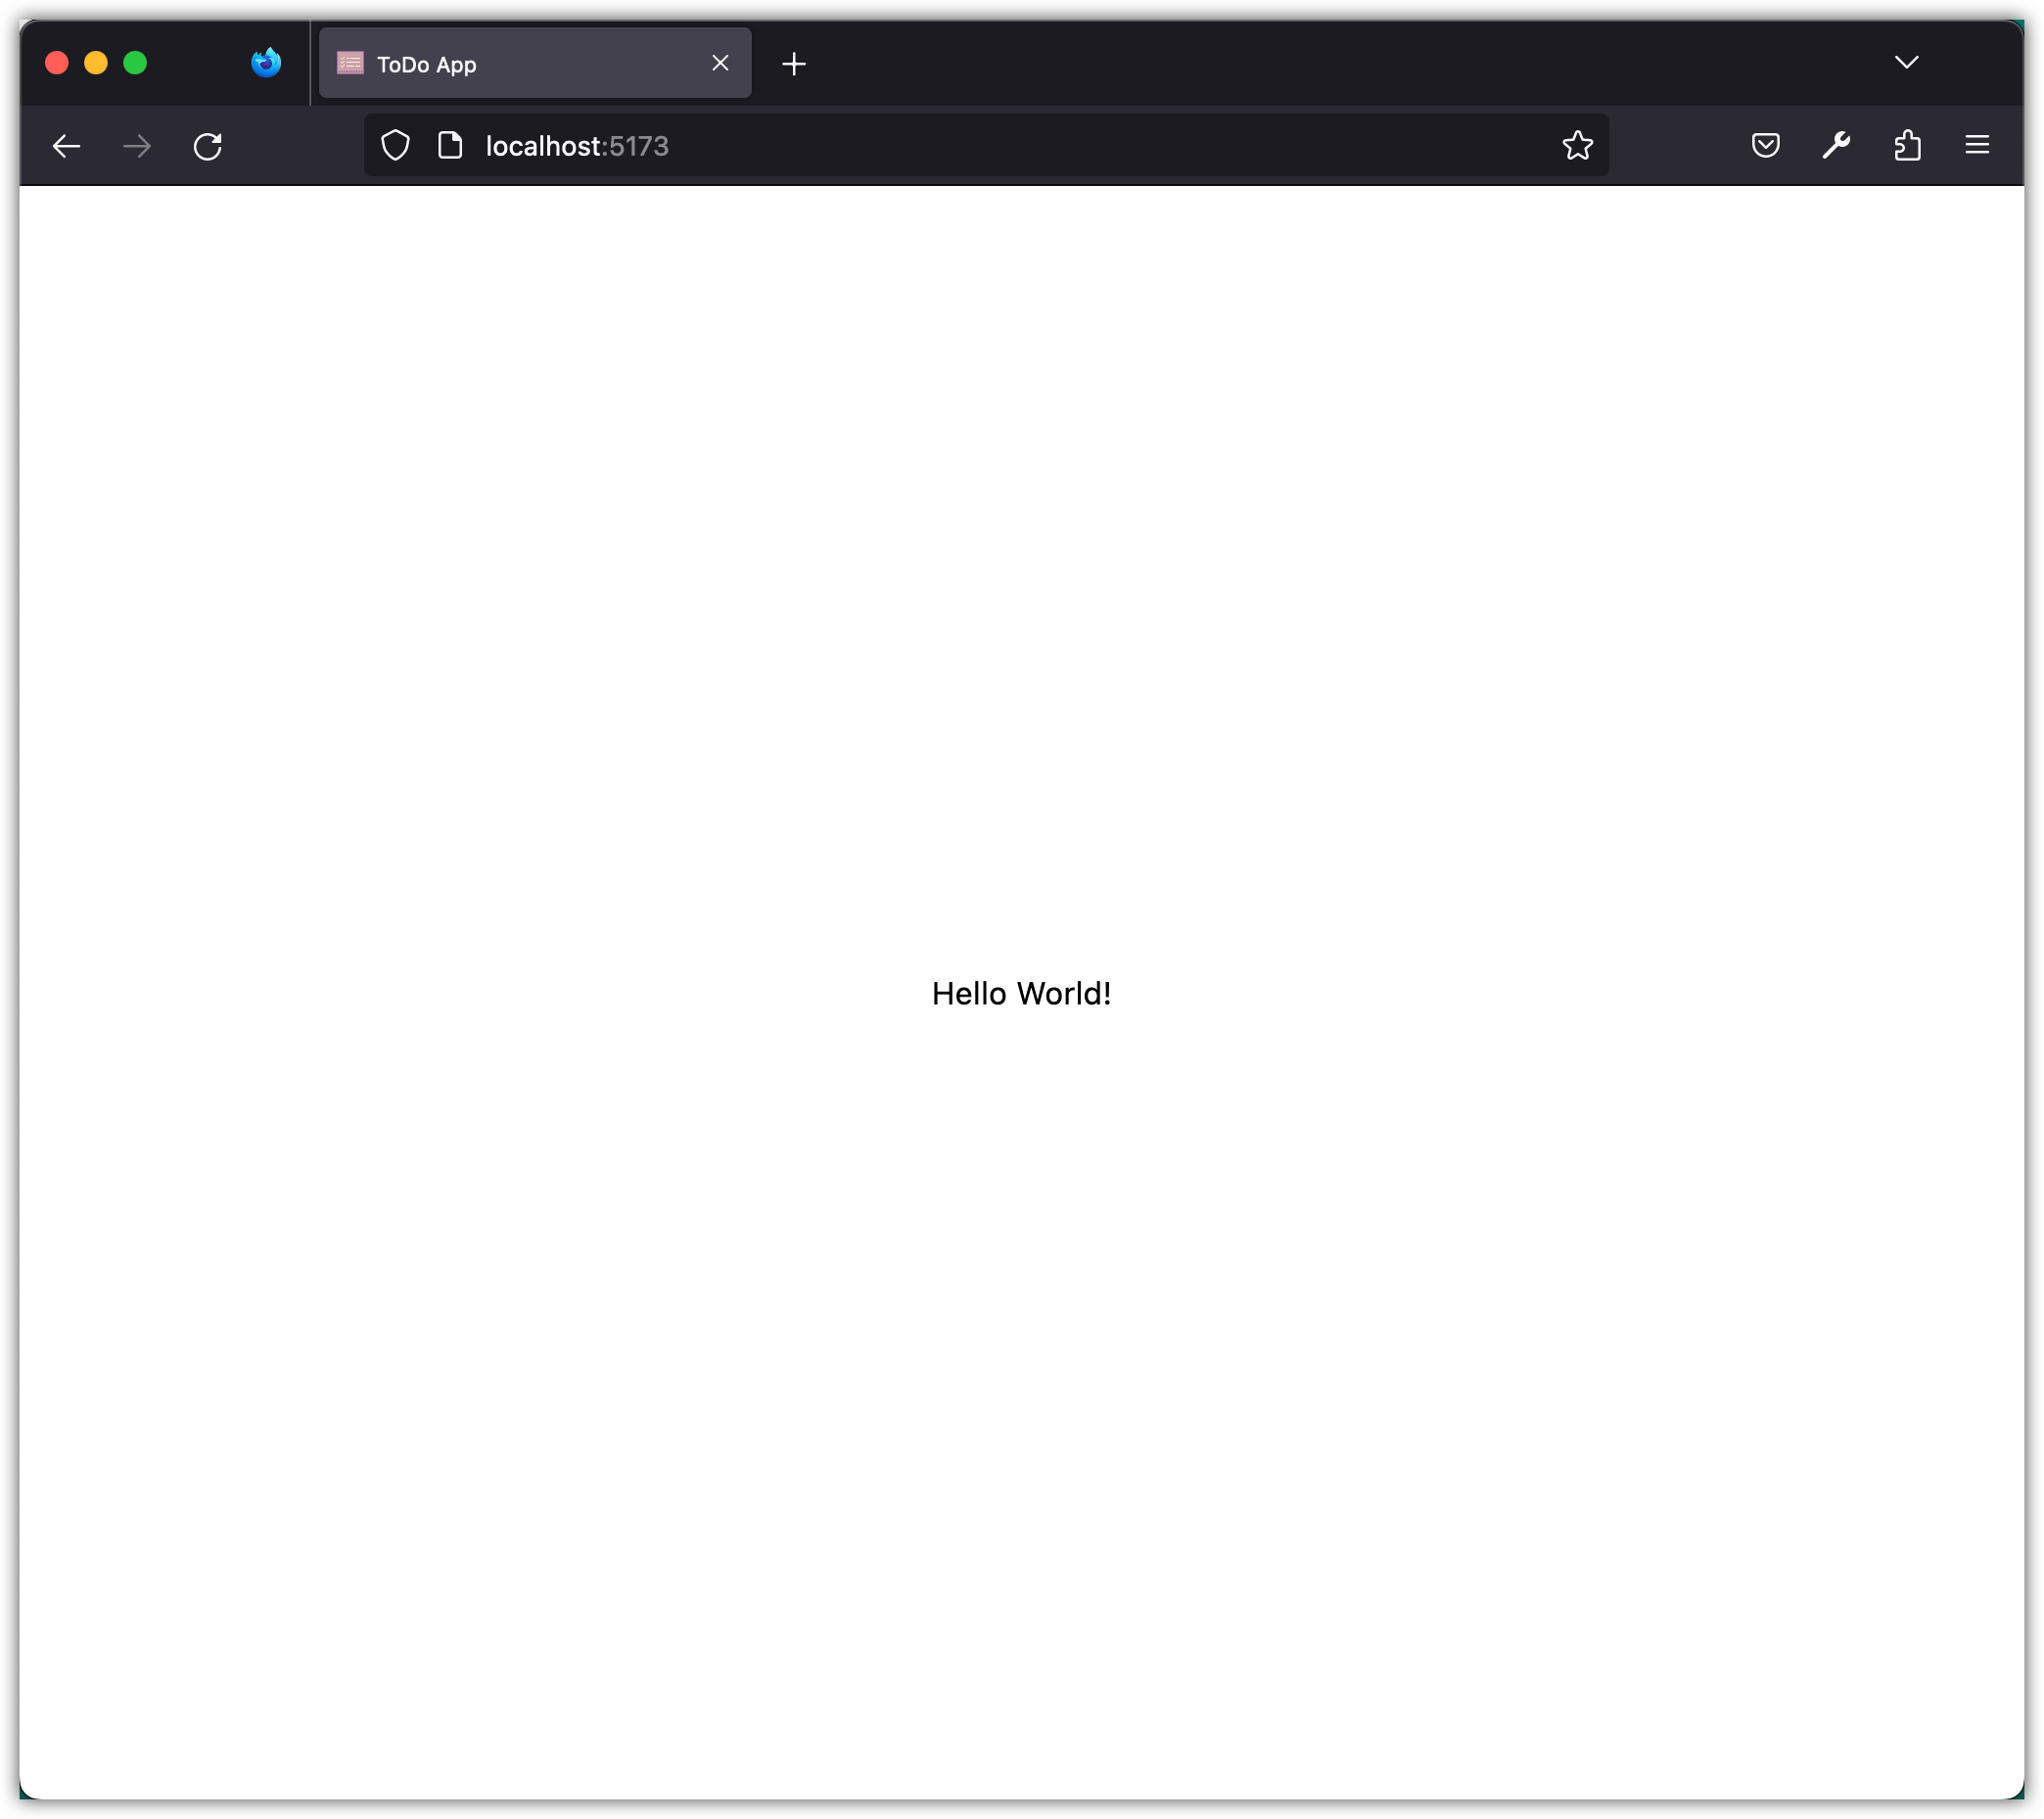
To check that our setup works, update the src/main.js as follows:
import "./style.css";

const app = document.getElementById("app");
app.innerHTML = `<div class="flex items-center justify-center h-screen">
  <div>Hello World!</div>
</div>`;
Run the app and observe the changes.
Installing Prettier
Next, we will install Prettier as a development dependency.
pnpm install --save-dev --save-exact prettier
Prettier is a code formatter. It reformats your code according to a set of rules, and it works with a variety of programming languages, including JavaScript, CSS, HTML, and more. The problem it solves is inconsistent coding style, which makes code hard to read and maintain. Prettier can be integrated with most code editors and build tools, so the formatting happens automatically during development and deployment.
Then, we will create a .prettierrc.json file in the root of our project to configure Prettier.
{
  "semi": true,
  "trailingComma": "all",
  "singleQuote": false,
  "printWidth": 80,
  "tabWidth": 2,
  "endOfLine": "auto"
}
These Prettier configurations determine how Prettier formats the code.
semi: determines whether to use semicolons at the end of statements.trailingComma: determines whether to include a trailing comma after the last element in an array or object.singleQuote: determines whether to use single quotes or double quotes for strings.printWidth: determines the maximum line length before Prettier wraps the code to a new line.tabWidth: determines the number of spaces to use for indentation.endOfLine: determines the type of line ending to use for the file.
Next, create a .prettierignore file to let Prettier and editors know which files not to format.
dist
When we use Vite to build the site, it creates the build artifacts in the dist folder. We have added the dist folder in the .prettierignore file to avoid formatting it.
Finally, add this command to the scripts section of the package.json file:
"format": "prettier --write \"src/**/*.js\" --config \".prettierrc.json\""
Now you can run Prettier from the terminal:
pnpm format
Checkpoint: Commit your progress.
git add .
git commit -m "todos-02: Configure Tailwind CSS and Prettier"
git push