Creating the Form and Handling Submission
Let’s start building our payment form app. Create an index.html file with the following content.
<!DOCTYPE html>
<html lang="en">
  <head>
    <meta charset="UTF-8" />
    <meta http-equiv="X-UA-Compatible" content="IE=edge" />
    <meta name="viewport" content="width=device-width, initial-scale=1.0" />
    <title>Payment Form</title>
  </head>
  <body></body>
</html>
Adding the Form Structure
We use HTML forms to collect user input. Add the following to the body section of index.html.
<form>
  <label for="cnumber">Card number</label>
  <br />
  <input
    type="text"
    id="cnumber"
    name="cnumber"
    placeholder="Valid card number"
  />
  <br />
  <fieldset>
    <legend>Expiration Date</legend>
    <label>
      Month: <input type="number" id="month" name="month" placeholder="MM" />
    </label>
    <label>
      Year: <input type="number" id="year" name="year" placeholder="YYYY" />
    </label>
  </fieldset>
  <label for="cvv">CVV</label>
  <br />
  <input
    type="text"
    id="cvv"
    name="cvv"
    placeholder="Card verification value"
  />
  <br />
  <input type="submit" id="submit" />
</form>
Understanding Form Elements
| Element | Purpose |
|---|---|
<form> |
Container for input and related elements |
<input> |
Creates an input field; type determines its appearance |
<label> |
Describes an input; use for matching the input’s id for accessibility |
<fieldset> |
Groups related inputs together |
placeholder |
Hints at the expected value |
The expiration date fields use type="number" for numerical input. We keep the card number and CVV as text inputs because some values start with zeros that would be lost with number inputs.
Testing Form Submission
Run the application and enter some test data in the form.
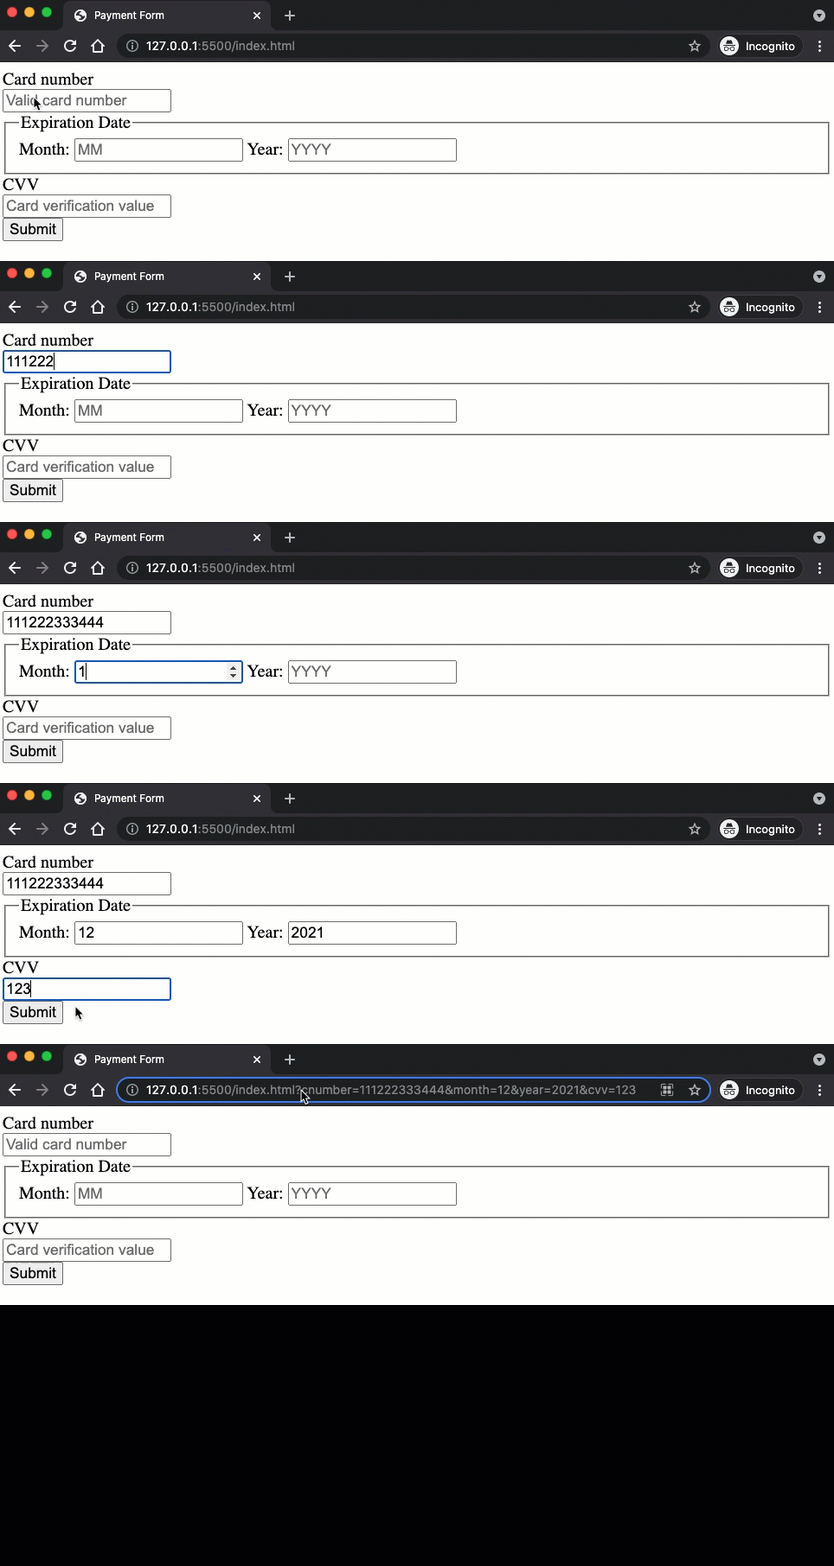
Click the submit button. Notice the page URL changes to something like:
index.html?cnumber=111222333444&month=12&year=2021&cvv=123
The string after ? is a list of key-value pairs. Each key is the name attribute of one input, and each value is what you entered in that input. The pairs are separated by &. This is how a form sends its data to a server for processing.
Handling Form Submission with JavaScript
Let’s create a script.js file and link it to index.html. First, add the script tag just before the closing </body> tag.
<script src="script.js"></script>
Now add this code to script.js to handle form submission.
const submitBtn = document.getElementById("submit");
submitBtn.addEventListener("click", handleFormSubmit);

function handleFormSubmit(event) {
  event.preventDefault();
  window.alert("Thanks for the payment!");
}
The preventDefault() method stops the browser from doing what it would normally do for an event. Here the browser would submit the form, so calling preventDefault() on the submit button click stops the submission. Now we decide what happens instead.
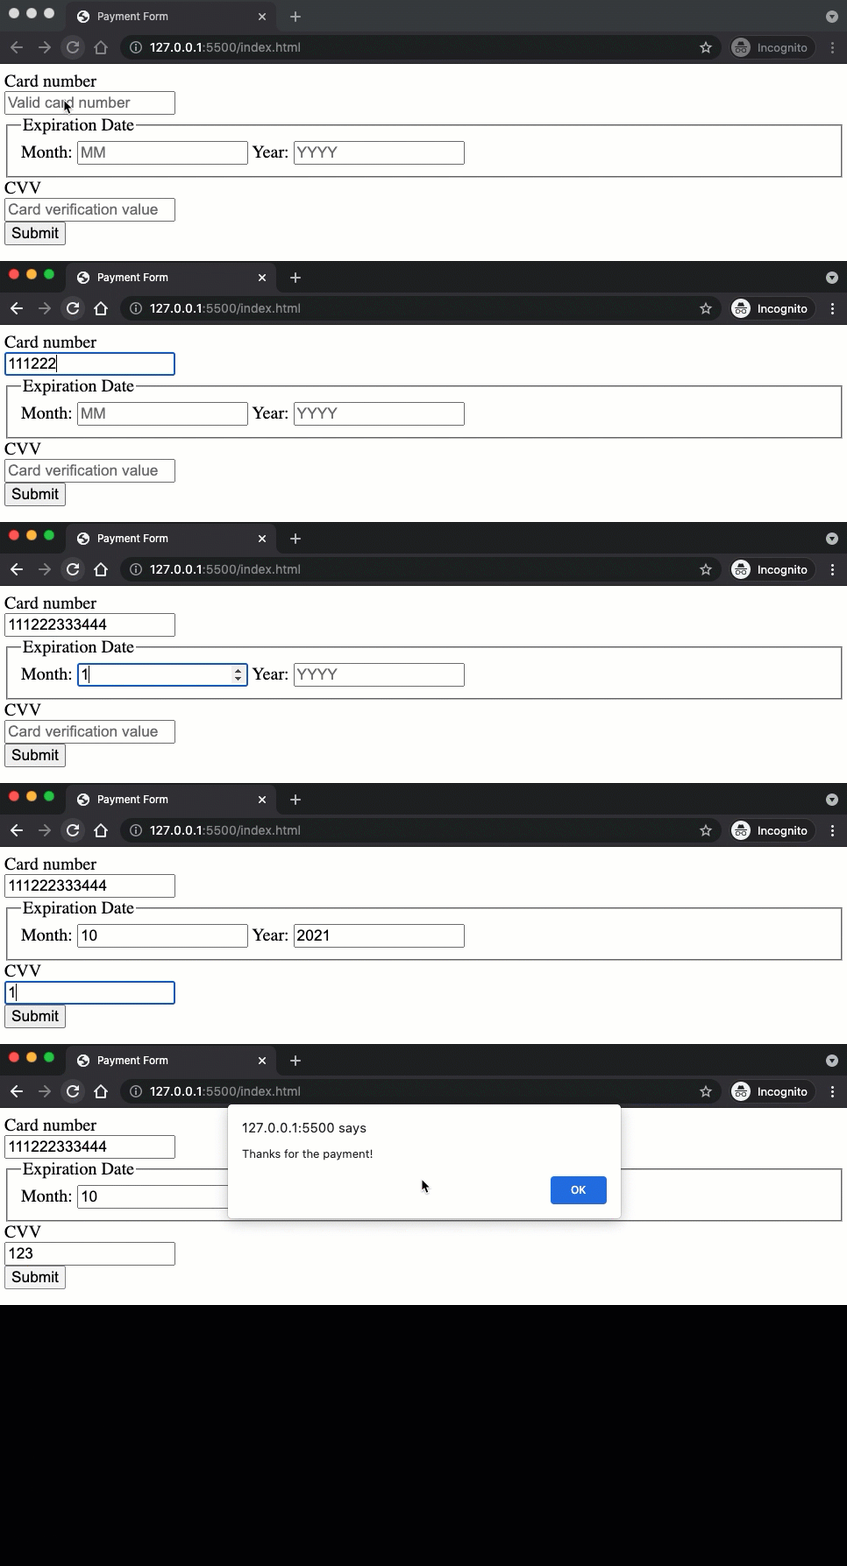
Checkpoint: Commit your progress.
git add .
git commit -m "payment-01: Create form structure with submission handler"
git push