JSX Patterns and the Die Face
In the previous section, you created the Die component and composed it into App. Right now the die just renders an emoji. In this section, you will learn the JSX patterns needed to build a proper die face: expressions, conditionals, and list rendering. Then you will use all three in the Die component.
JSX Expressions
In the Counter app, you embedded a variable in JSX with curly braces: {count}. But curly braces accept any JavaScript expression, not just variables.
<p>{2 + 3}</p>              {/* 5 */}
<p>{"hello".toUpperCase()}</p> {/* HELLO */}
<p>{Math.floor(4.7)}</p>     {/* 4 */}
You can think of {} as the boundary between two languages. JSX is HTML-like markup, and curly braces mark where JavaScript begins. Inside that JavaScript, an expression can itself return more JSX, so JSX and JavaScript can alternate as many times as you need. That is how React builds a UI that changes.
Here is a small example where JSX and JavaScript nest inside each other:
function Greeting() {
  const name = "Alice";
  return (
    <div>
      {name === "Alice" ? <p>Welcome back!</p> : <p>Hello, stranger.</p>}
    </div>
  );
}
The outer <div> is JSX. The {} drops into JavaScript (a ternary expression). The <p> tags inside the ternary are JSX again.
What You Cannot Do in JSX
There is one constraint. Curly braces only accept expressions, meaning things that produce a value. You cannot use statements like if, for, or while inside {}.
// ❌ This won't work — `if` is a statement, not an expression
<div>{if (loggedIn) { "Welcome" }}</div>
So how do you handle conditionals and loops in JSX? You use expressions that do the same job.
Conditional rendering with &&: If the condition is true, the JSX after && renders. If false, nothing appears.
{isLoggedIn && <p>Welcome back!</p>}
Conditional rendering with the ternary operator: Pick between two options.
{isLoggedIn ? <p>Welcome back!</p> : <p>Please sign in.</p>}
Rendering lists with .map(): Transform an array into JSX elements.
{["🍎", "🍌", "🍒"].map((fruit) => (
  <span>{fruit}</span>
))}
If you write it this way, React logs a warning that each child in a list should have a unique key. When you render a list, React expects each element to have a key prop so it can track which items changed.
One common fix is to use the array index:
{["🍎", "🍌", "🍒"].map((fruit, i) => (
  <span key={i}>{fruit}</span>
))}
This is something many people do, and it can work for simple cases. But it is not the best default because the index is tied to the item’s position, not its identity. If the list changes order, items are inserted, or items are removed, React may match the wrong elements.
Whenever possible, use a stable value from the data itself:
{["🍎", "🍌", "🍒"].map((fruit) => (
  <span key={fruit}>{fruit}</span>
))}
Here the fruit itself works well as a key because each item is unique and stable.
The Die Face
Now you have all the pieces to build a real die face. Given a die value (1–6), you need to render the correct dot pattern on a 3×3 grid.
The approach:
- Map each die value to the grid cells that should show a dot.
- Render all 9 cells with
.map(). - Conditionally show a dot in each cell with
&&.
Update src/components/Die.tsx:
const dotPositions: Record<number, number[]> = {
  1: [4],
  2: [2, 6],
  3: [2, 4, 6],
  4: [0, 2, 6, 8],
  5: [0, 2, 4, 6, 8],
  6: [0, 2, 3, 5, 6, 8],
};

function Die() {
  const value = 5;
  const dots = dotPositions[value] ?? [];

  return (
    <button
      className="grid grid-cols-3 grid-rows-3 gap-2 rounded-xl bg-white p-4 shadow-lg"
      style={{ width: "120px", height: "120px" }}
    >
      {Array.from({ length: 9 }).map((_, i) => (
        <div key={i} className="flex items-center justify-center">
          {dots.includes(i) && (
            <div className="h-5 w-5 rounded-full bg-gray-800" />
          )}
        </div>
      ))}
    </button>
  );
}

export default Die;
Let’s break this down:
dotPositionsis a lookup table. For each die value (1–6), it stores which cells in a 3×3 grid should show a dot. The cells are numbered 0–8:
 0 | 1 | 2
-----------
 3 | 4 | 5
-----------
 6 | 7 | 8
For example, value 5 maps to [0, 2, 4, 6, 8] — the four corners plus the center.
-
The grid:
grid grid-cols-3 grid-rows-3creates a 3×3 layout. We render 9 cells withArray.from({ length: 9 }).map(...), the.map()pattern you just learned. -
The
key={i}: In this app, using the index is fine because the 9 grid cells are fixed. They never get inserted, removed, or reordered; they always represent the same positions on the die face. -
Conditional dot:
{dots.includes(i) && <div ... />}, the&&pattern. If cellishould have a dot, render it. Otherwise the cell stays empty.
Run the app to see the die face rendered on screen:
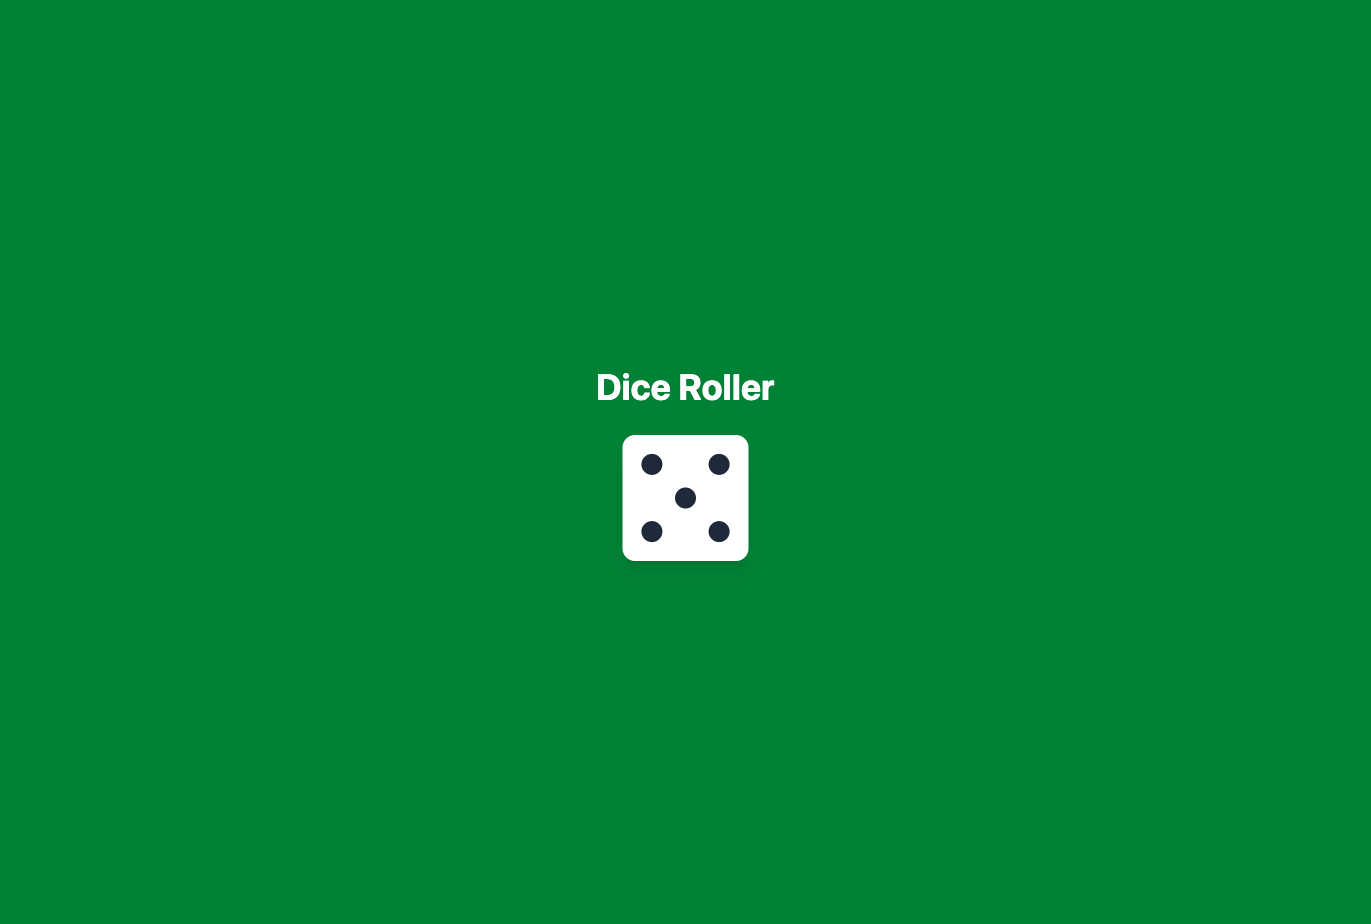
Right now the value is hardcoded to 5. In the next section, you will make it configurable.
Checkpoint: Commit your progress.
git add .
git commit --amend -m "dice-03: Build the Die component"
git push --force-with-lease
This step amends the previous commit instead of creating a new one. That means Git replaces the earlier dice-03 commit with a new version that includes the JSX patterns work from this section.
Because you already pushed the old version of that commit in the previous section, a normal git push will be rejected. git push --force-with-lease updates the remote branch safely by replacing your earlier pushed commit.