Counter with the DOM API
Before we learn React, let’s build a counter app in plain JavaScript. This will help us understand the problems React solves. We will start with the approach you already know: document.createElement, appendChild, and addEventListener.
Setting Up the Project
We will use Vite as our build tool. Scaffold a new vanilla JavaScript project:
pnpm create vite@latest counter-vanilla --template vanilla
Navigate to the project and install dependencies:
cd counter-vanilla
pnpm install
Vite scaffolds several files we do not need. Delete everything inside public/ and src/. Those folders hold Vite’s demo files: SVG icons, sample CSS, and starter JavaScript.
rm -rf public src
This leaves us with just index.html and package.json. That is all we need. Vite handles the dev server and bundling, and we will create our own files from scratch.
Creating the Files
Replace the contents of index.html with:
<!DOCTYPE html>
<html lang="en">
  <head>
    <meta charset="UTF-8" />
    <meta name="viewport" content="width=device-width, initial-scale=1.0" />
    <title>Counter</title>
  </head>
  <body>
    <div id="app"></div>
    <script type="module" src="/src/main.js"></script>
  </body>
</html>
Note the type="module" on the script tag. Vite uses ES modules. There is no <link> tag for CSS. In Vite projects, you import CSS from JavaScript, and Vite injects it into the page for you.
Create a src folder and add src/styles.css:
body {
  font-family: sans-serif;
  display: flex;
  justify-content: center;
  align-items: center;
  min-height: 100vh;
  margin: 0;
  background: #f5f5f5;
}

.counter {
  text-align: center;
}

.counter h1 {
  font-size: 4rem;
  margin: 0 0 1rem;
}

button {
  padding: 0.5rem 1.5rem;
  font-size: 1.2rem;
  border: 1px solid #ccc;
  border-radius: 4px;
  background: white;
  cursor: pointer;
  margin: 0 0.25rem;
}

button:hover {
  background: #eee;
}
Building the Counter
Now create src/main.js. We will build the entire UI using the DOM API:
import "./styles.css";

const app = document.getElementById("app");

// Create elements
const container = document.createElement("div");
container.className = "counter";

const display = document.createElement("h1");
display.textContent = "Count: 0";

const incrementBtn = document.createElement("button");
incrementBtn.textContent = "+";

const decrementBtn = document.createElement("button");
decrementBtn.textContent = "−";

const resetBtn = document.createElement("button");
resetBtn.textContent = "Reset";

// Assemble the tree
container.appendChild(display);
container.appendChild(incrementBtn);
container.appendChild(decrementBtn);
container.appendChild(resetBtn);
app.appendChild(container);

// State and update function
let count = 0;

function updateCounter() {
  display.textContent = "Count: " + count;
}

// Event listeners
incrementBtn.addEventListener("click", () => {
  count++;
  updateCounter();
});

decrementBtn.addEventListener("click", () => {
  count--;
  updateCounter();
});

resetBtn.addEventListener("click", () => {
  count = 0;
  updateCounter();
});
Start the dev server and open the URL in your browser:
pnpm run dev
You should see a counter with three buttons:
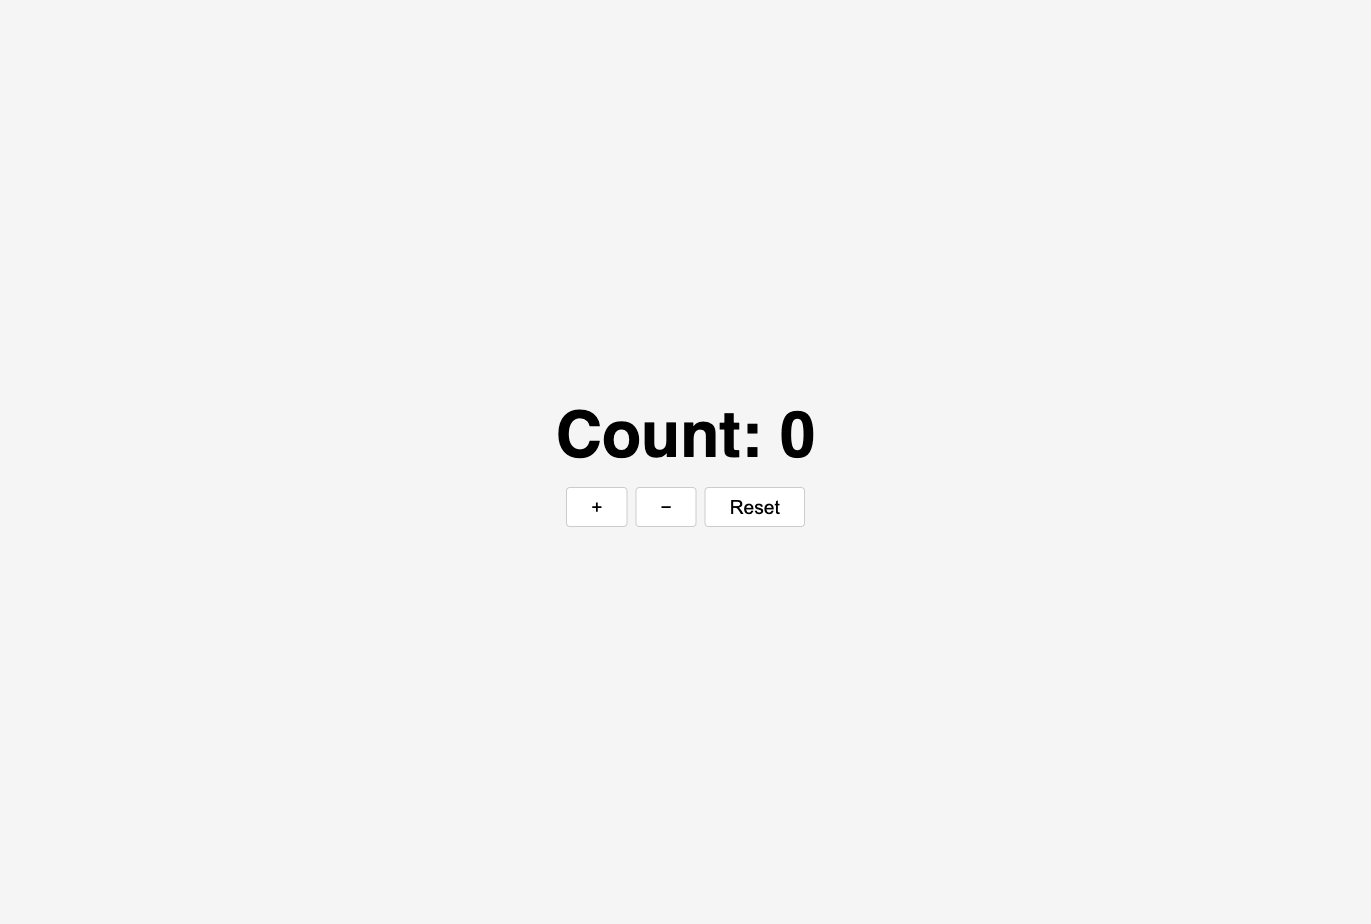
Click the buttons to verify everything works. The + and − buttons increment and decrement the count, and Reset sets it back to zero.
Notice how much code it takes just to create a few elements. We had to create each element, set its properties, and manually assemble them into a tree. The code is long, and it is hard to see what the UI actually looks like just by reading it.
Checkpoint: Commit your progress.
git add .
git commit -m "counter-01: Build counter with DOM API"