Implementing Game Logic
In this task we implement the game logic for the “Rock, Paper, Scissors” game. We start by adding a card component that shows the game’s outcome. Then we set up the JavaScript for the gameplay logic: we create a new JavaScript file and link it to the HTML file. We also add id attributes to some elements so we can reach them from the JavaScript file. The JavaScript file holds the code that runs when a user clicks the “Rock”, “Paper”, or “Scissors” buttons on the webpage.
Adding a Card Component for Game Outcomes
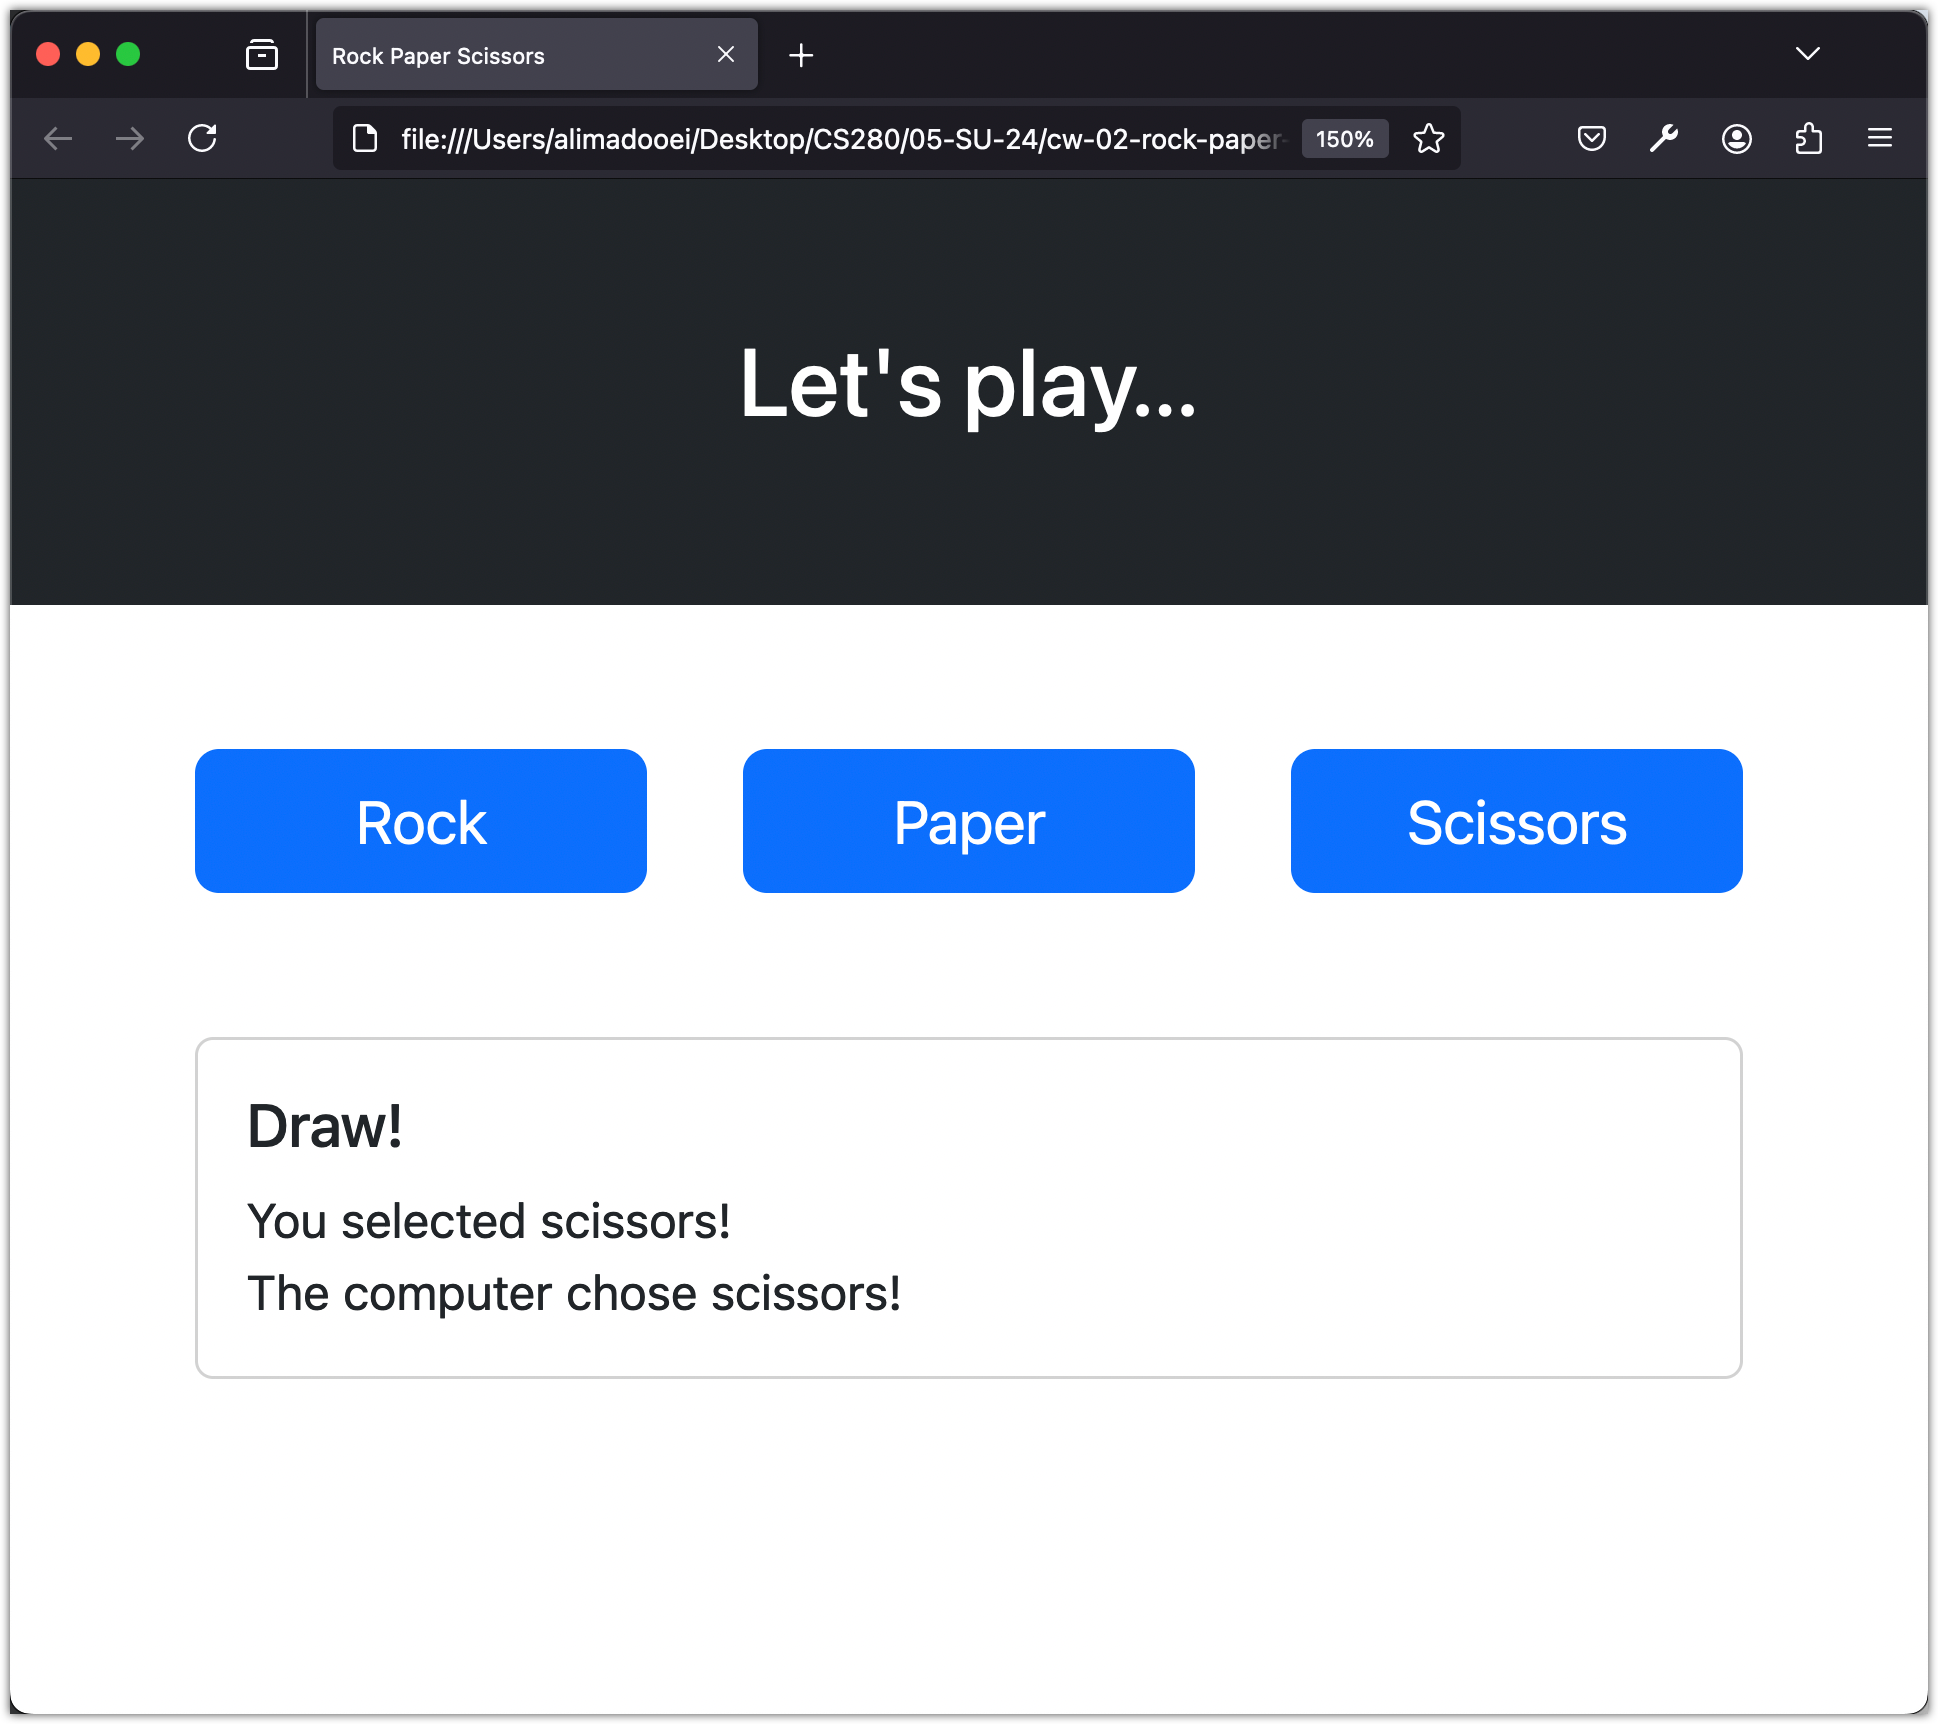
Now, let’s add a card component to our app to show the game outcome.
Paste the following snippet at the end of the body element, right above the <script> tag:
<div class="container">
  <div class="card">
    <div class="card-body">
      <h5 class="card-title">Draw!</h5>
      <div>You selected scissors!<br />The computer chose scissors!</div>
    </div>
  </div>
</div>
Here is the outcome:
Setting Up JavaScript for Gameplay Logic
Our application’s design and styling are complete. Now, it is time to implement the game.
Create an index.js file and link it to index.html by adding the following script element at the end of the body element, right above the </body> tag:
<script src="index.js"></script>
Also, add id attributes to some elements so we can reach them from index.js:
  <div class="container my-5">
    <div class="row  gap-2">
      <div class="col-sm">
-       <button class="btn btn-primary btn-lg w-100">Rock</button>
+       <button id="rock" class="btn btn-primary btn-lg w-100">Rock</button>
      </div>
      <div class="col-sm">
-       <button class="btn btn-primary btn-lg w-100">Paper</button>
+       <button id="paper" class="btn btn-primary btn-lg w-100">Paper</button>
      </div>
      <div class="col-sm">
-       <button class="btn btn-primary btn-lg w-100">Scissors</button>
+       <button id="scissors" class="btn btn-primary btn-lg w-100">Scissors</button>
      </div>
    </div>
  </div>
  <div class="container">
    <div class="card">
      <div class="card-body">
-       <h5 class="card-title">Draw!</h5>
+       <h5 id="result" class="card-title">Draw!</h5>
-       <div>You selected scissors!<br/>The computer chose scissors!</div>
+       <div id="message">You selected scissors!<br/>The computer chose scissors!</div>
      </div>
    </div>
  </div>
Next, add the following code to index.js:
const rock = document.getElementById("rock");
const paper = document.getElementById("paper");
const scissors = document.getElementById("scissors");

function play(event) {
  const userChoice = event.target.id;
  console.log(userChoice);
}

rock.addEventListener("click", play);
paper.addEventListener("click", play);
scissors.addEventListener("click", play);
The index.js file contains JavaScript code that runs when a user interacts with the “Rock”, “Paper”, or “Scissors” buttons on the webpage.
- The first three lines retrieve references to these buttons using the
document.getElementByIdmethod. The ids"rock","paper", and"scissors"correspond to these buttons. - The
playfunction is defined as an event handler. Notice it takes aneventparameter — when a function is used as an event handler, the browser automatically passes an event object to it. This object contains information about what triggered the event: which element was clicked, where the mouse was, whether any keys were held down, and more. Here we useevent.targetto get the element that was clicked, and.idto get that element’s id attribute. - The
addEventListenermethod attaches theplayfunction as an event handler to the “click” event for each button. When any of these buttons are clicked, theplayfunction executes and receives the event object.
Understanding addEventListener
In the WakeUp Times app, we attached click handlers using the onclick property:
calcBtn.onclick = handleClick;
Here we are using a different approach — addEventListener. Both work, but addEventListener is generally preferred because:
- It allows multiple handlers for the same event (with
onclick, assigning a new function replaces the previous one) - It gives you more control over when the handler runs
- It is the standard way to handle events in modern JavaScript
Test the Button Click Handlers
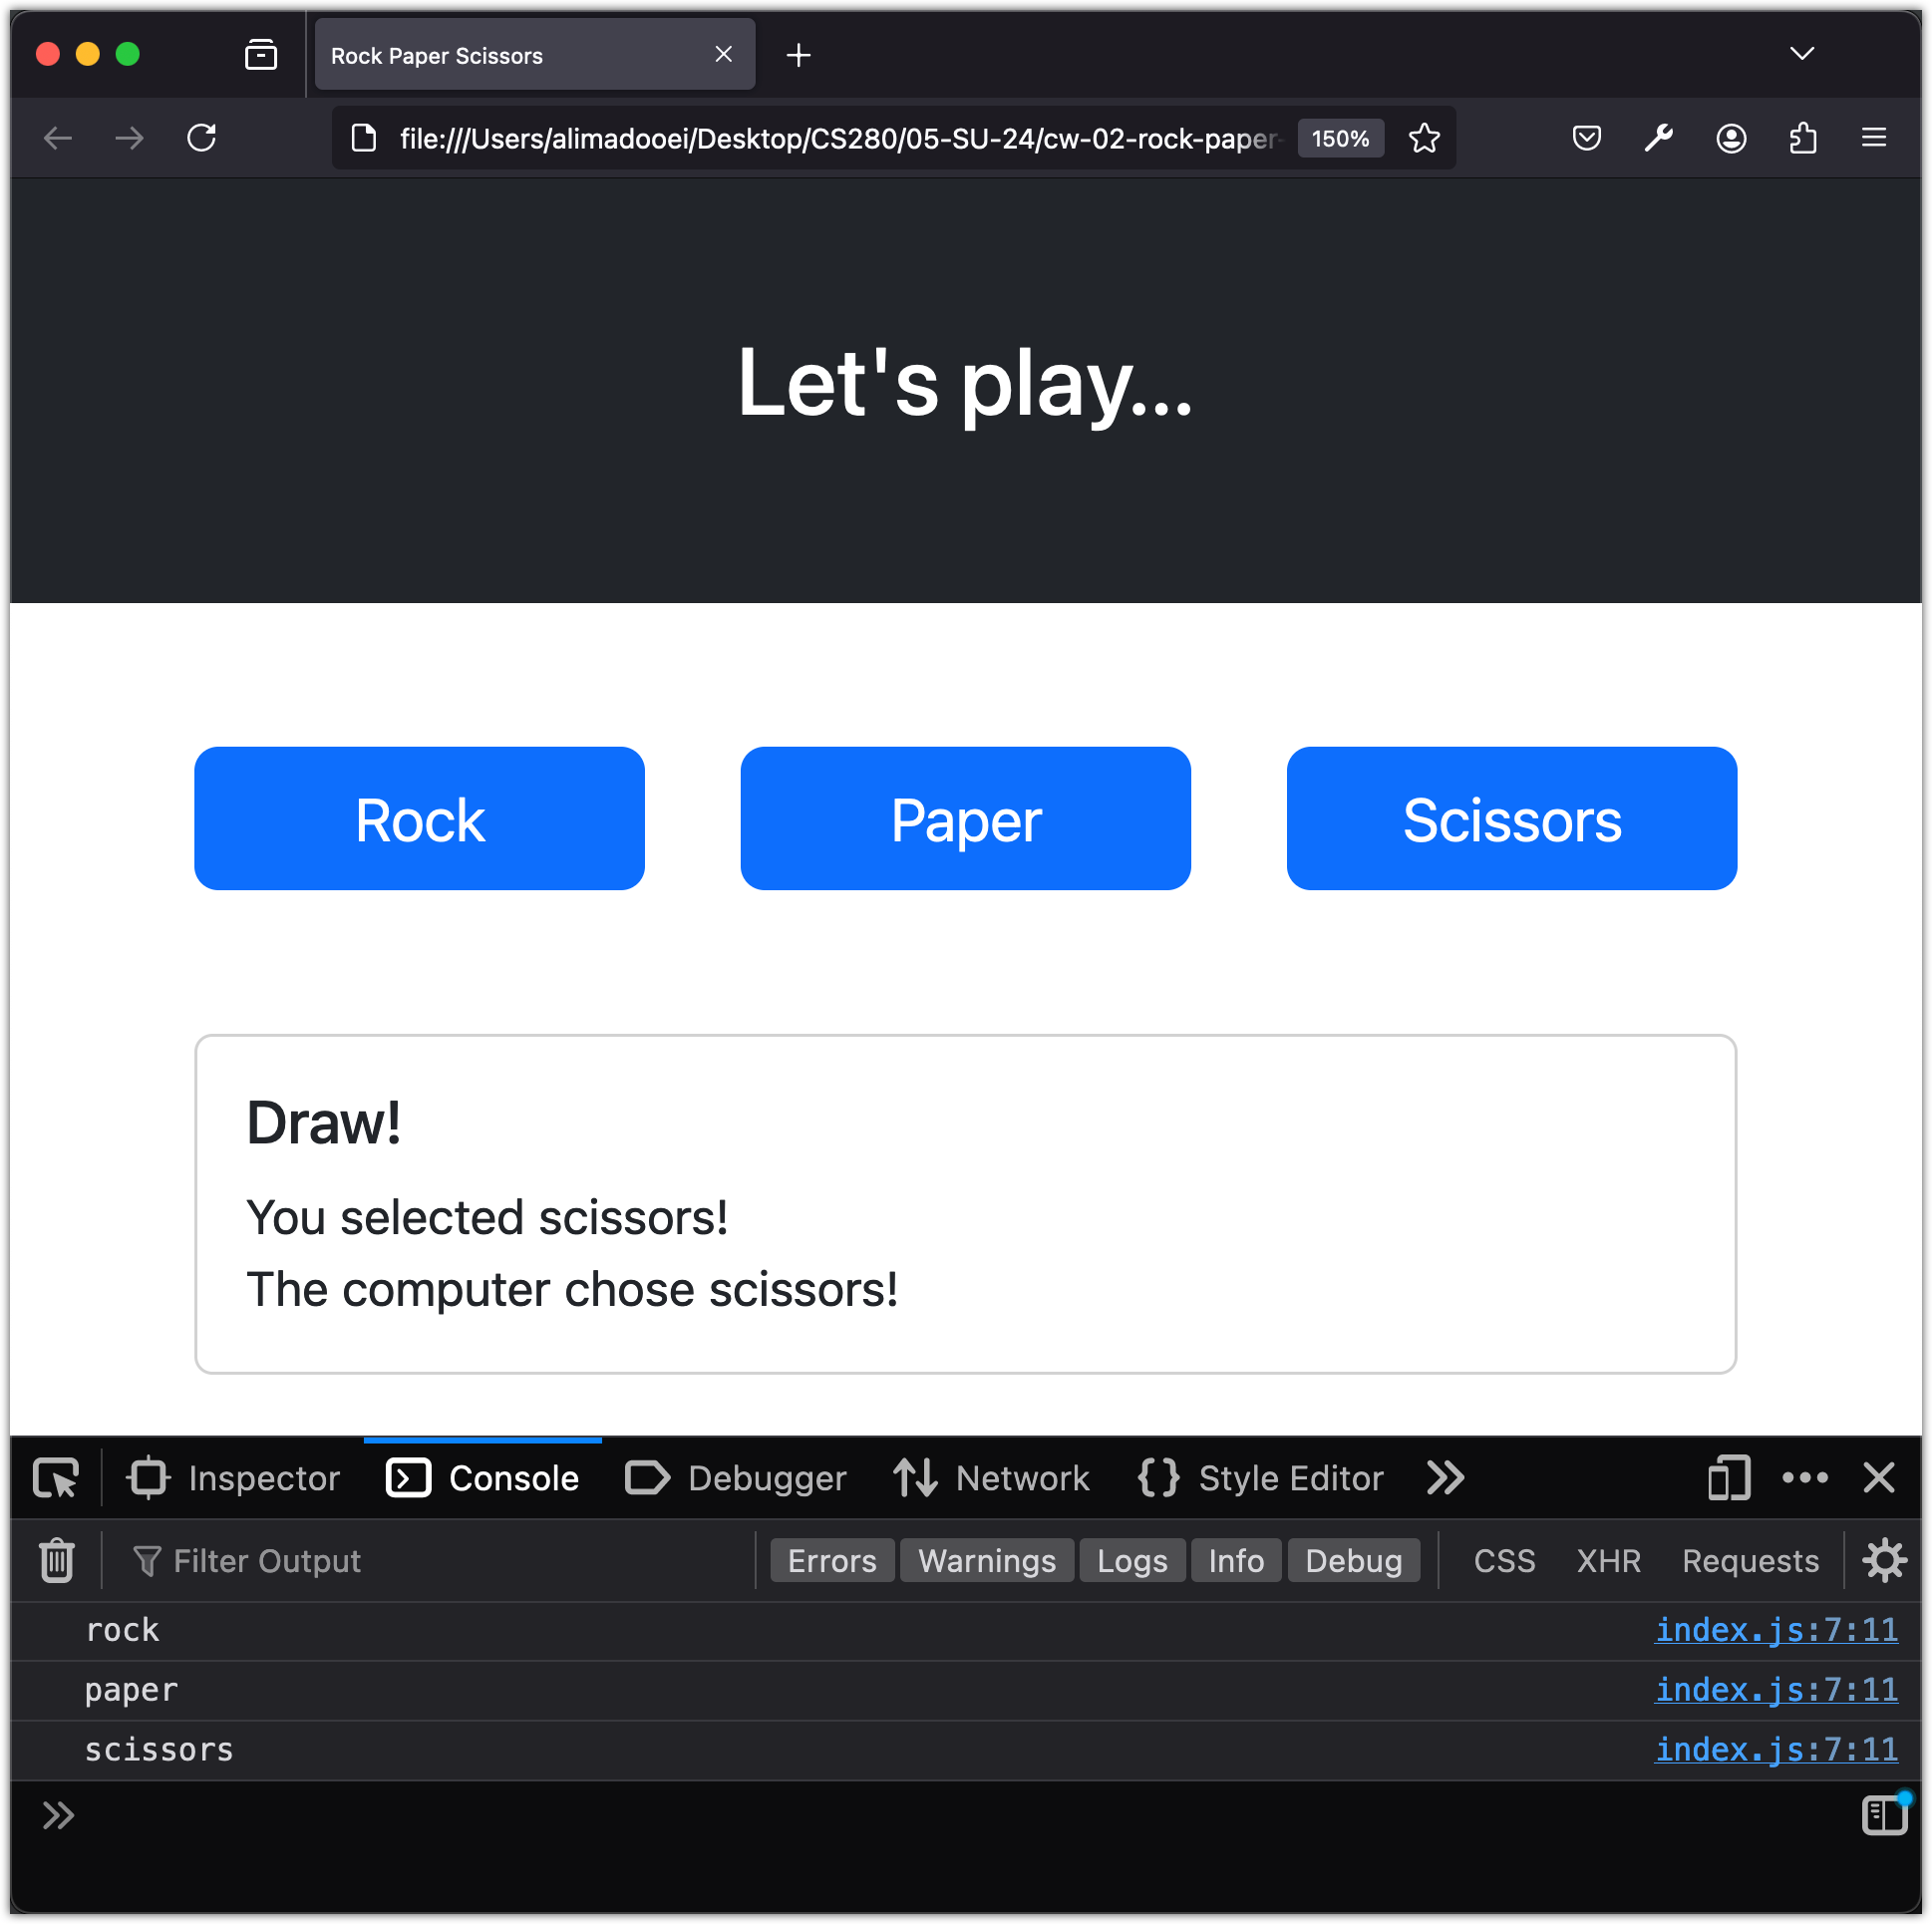
Now, run and test the application: open the developer tool and click on each button.
Implementing the Computer’s Random Choice
Let’s modify the script to allow the computer to select a choice randomly:
const choices = ["rock", "paper", "scissors"];

function play(event) {
  const userChoice = event.target.id;
  console.log("User choice is", userChoice);

  const randomNumber = Math.floor(Math.random() * choices.length);
  const computerChoice = choices[randomNumber];
  console.log("Computer choice is", computerChoice);
}
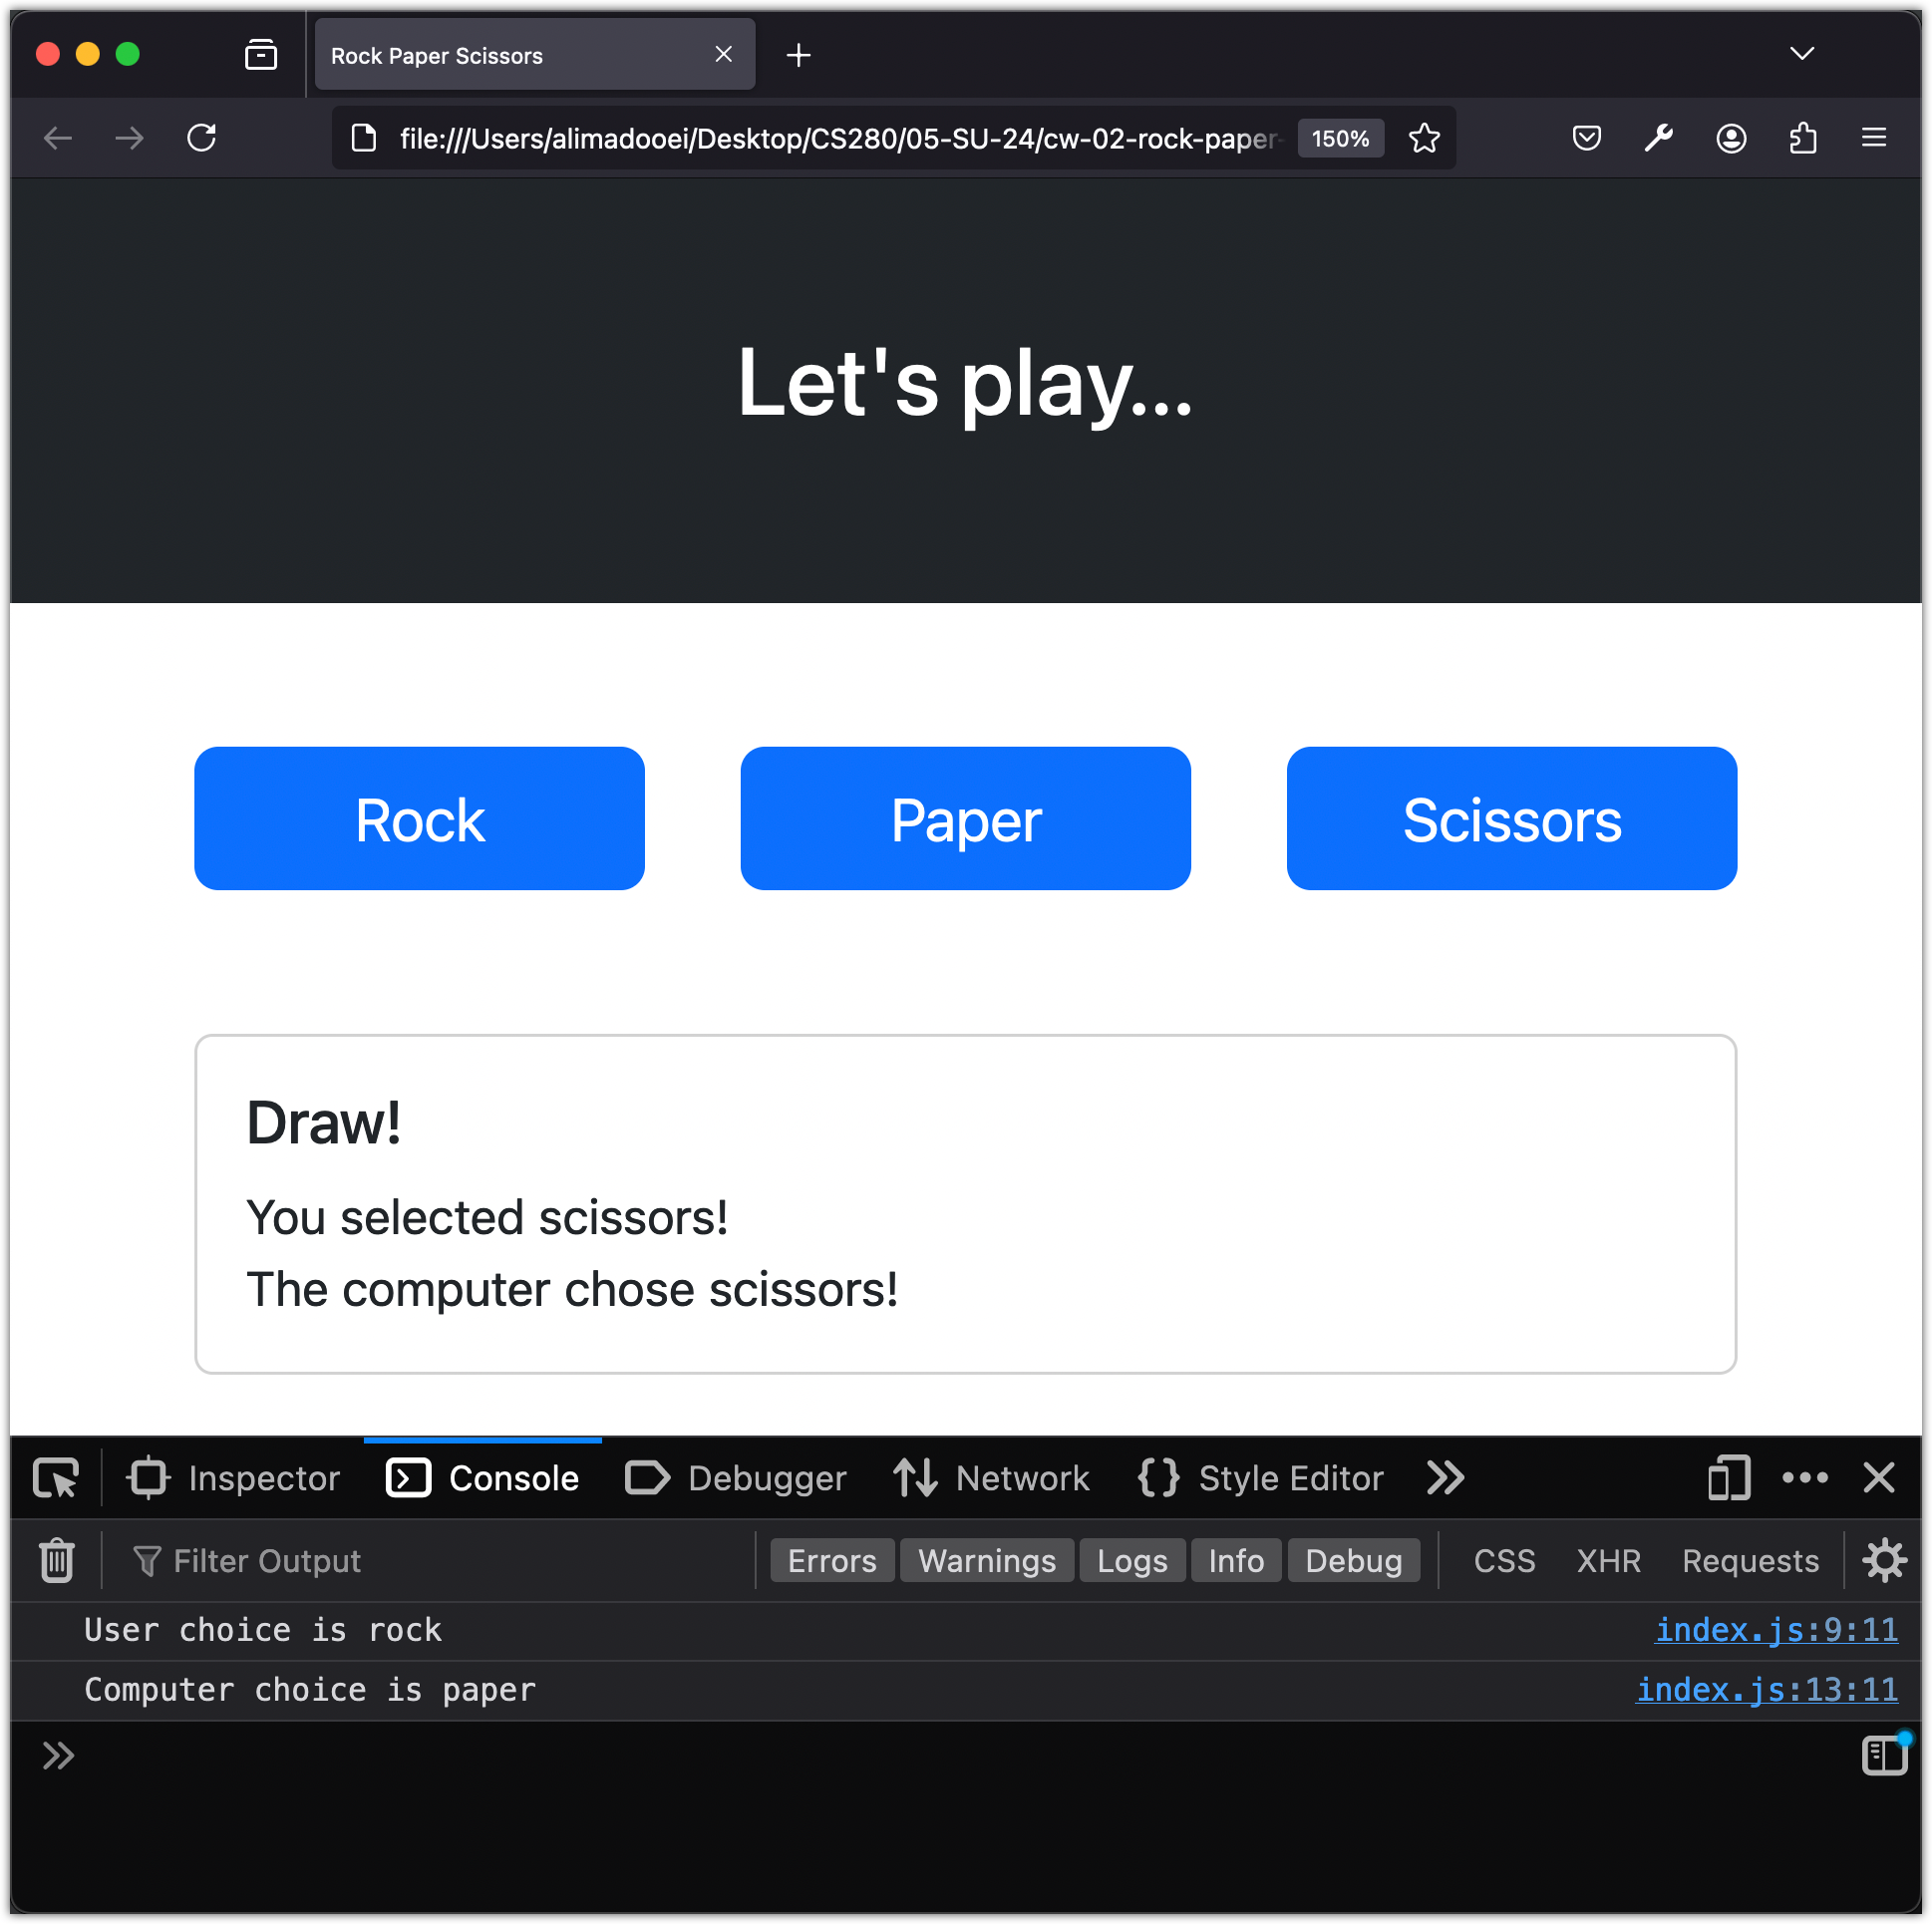
Now, run and test the application: click on any of the buttons and check the console.
Determining the Winner
Now, let’s incorporate the game logic:
if (computerChoice === userChoice) {
  console.log("It's a draw!");
} else if (computerChoice === "rock" && userChoice === "paper") {
  console.log("You win!");
} else if (computerChoice === "rock" && userChoice === "scissors") {
  console.log("You lose!");
} else if (computerChoice === "paper" && userChoice === "scissors") {
  console.log("You win!");
} else if (computerChoice === "paper" && userChoice === "rock") {
  console.log("You lose!");
} else if (computerChoice === "scissors" && userChoice === "rock") {
  console.log("You win!");
} else if (computerChoice === "scissors" && userChoice === "paper") {
  console.log("You lose!");
}
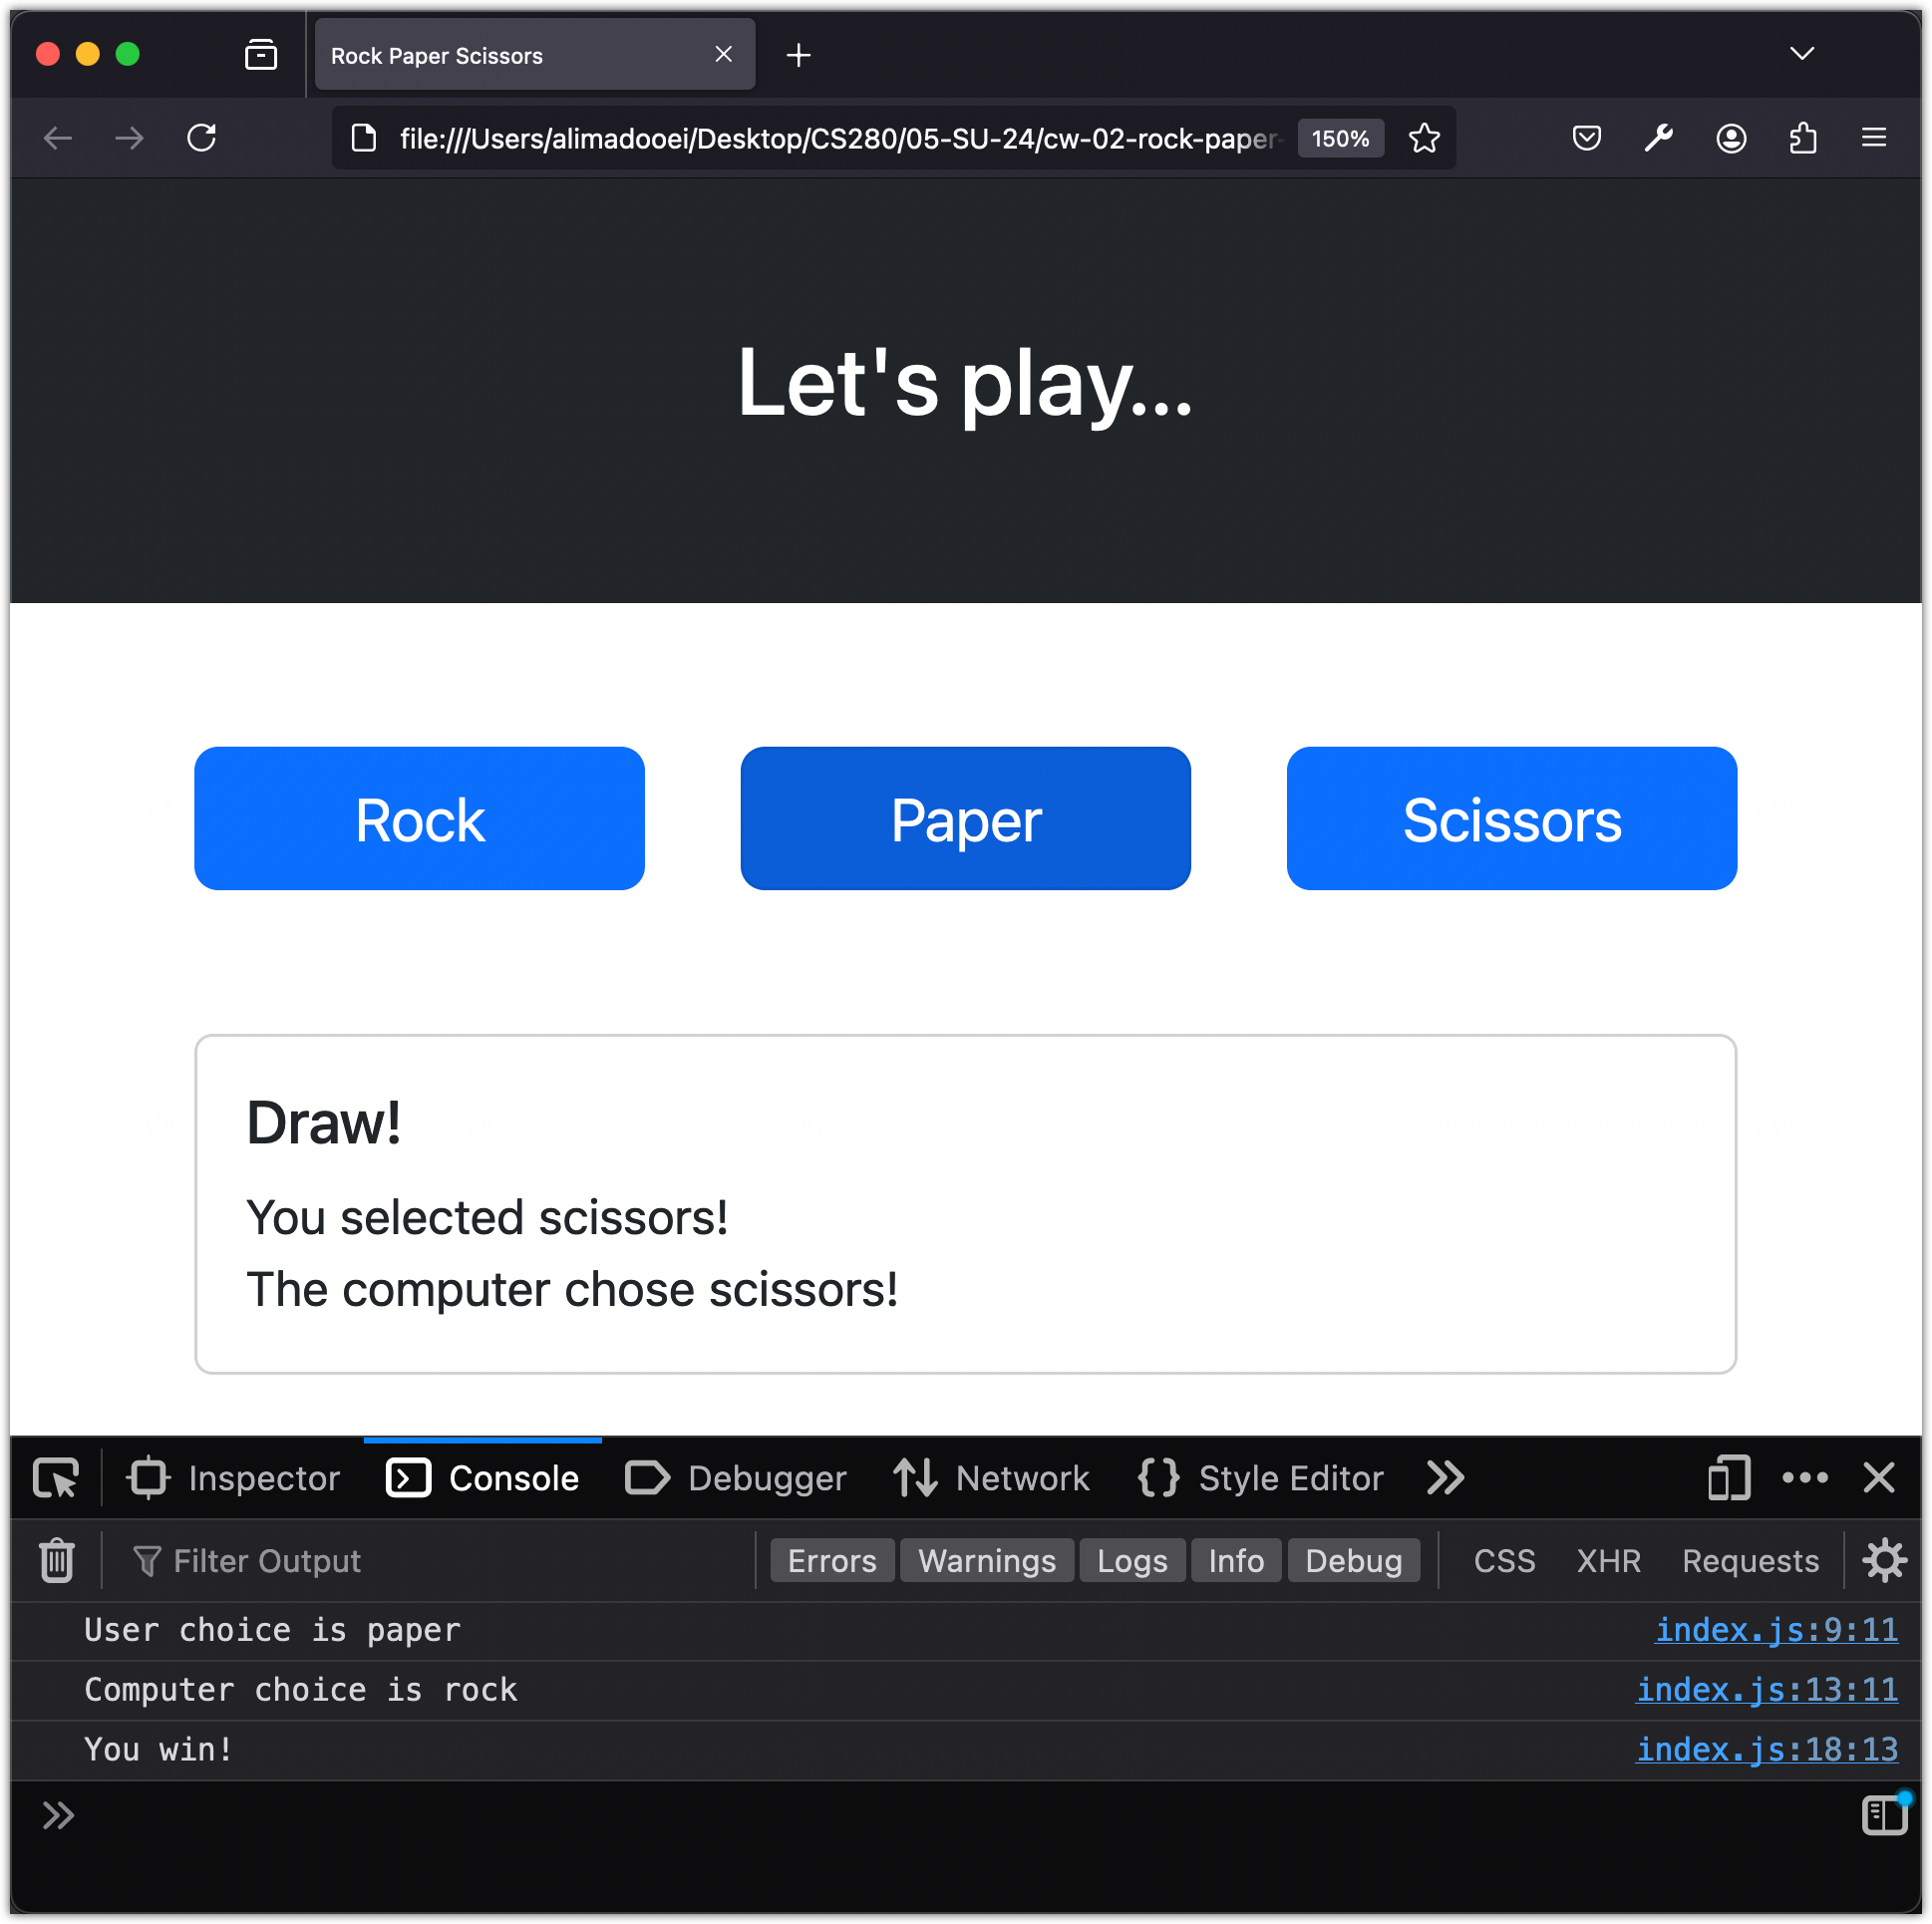
Now, run and test the application: click on any of the buttons and check the console.
Displaying Game Results on the Page
Instead of displaying the game state in the console, let’s modify the application to write the results into the HTML page.
Here is how the final index.js should look:
const rock = document.getElementById("rock");
const paper = document.getElementById("paper");
const scissors = document.getElementById("scissors");
const result = document.getElementById("result");
const message = document.getElementById("message");

const choices = ["rock", "paper", "scissors"];

function play(event) {
  const userChoice = event.target.id;
  message.innerHTML = "You selected " + userChoice + "!" + "<br/>";

  const randomNumber = Math.floor(Math.random() * choices.length);
  const computerChoice = choices[randomNumber];
  message.innerHTML += "The computer chose " + computerChoice + "!";

  if (computerChoice === userChoice) {
    result.innerHTML = "Draw!";
  } else if (computerChoice === "rock" && userChoice === "paper") {
    result.innerHTML = "You win!";
  } else if (computerChoice === "rock" && userChoice === "scissors") {
    result.innerHTML = "You lost!";
  } else if (computerChoice === "paper" && userChoice === "scissors") {
    result.innerHTML = "You win!";
  } else if (computerChoice === "paper" && userChoice === "rock") {
    result.innerHTML = "You lose!";
  } else if (computerChoice === "scissors" && userChoice === "rock") {
    result.innerHTML = "You win!";
  } else if (computerChoice === "scissors" && userChoice === "paper") {
    result.innerHTML = "You lose!";
  }
}

rock.addEventListener("click", play);
paper.addEventListener("click", play);
scissors.addEventListener("click", play);
Now, let’s run the application: click on any of the buttons.
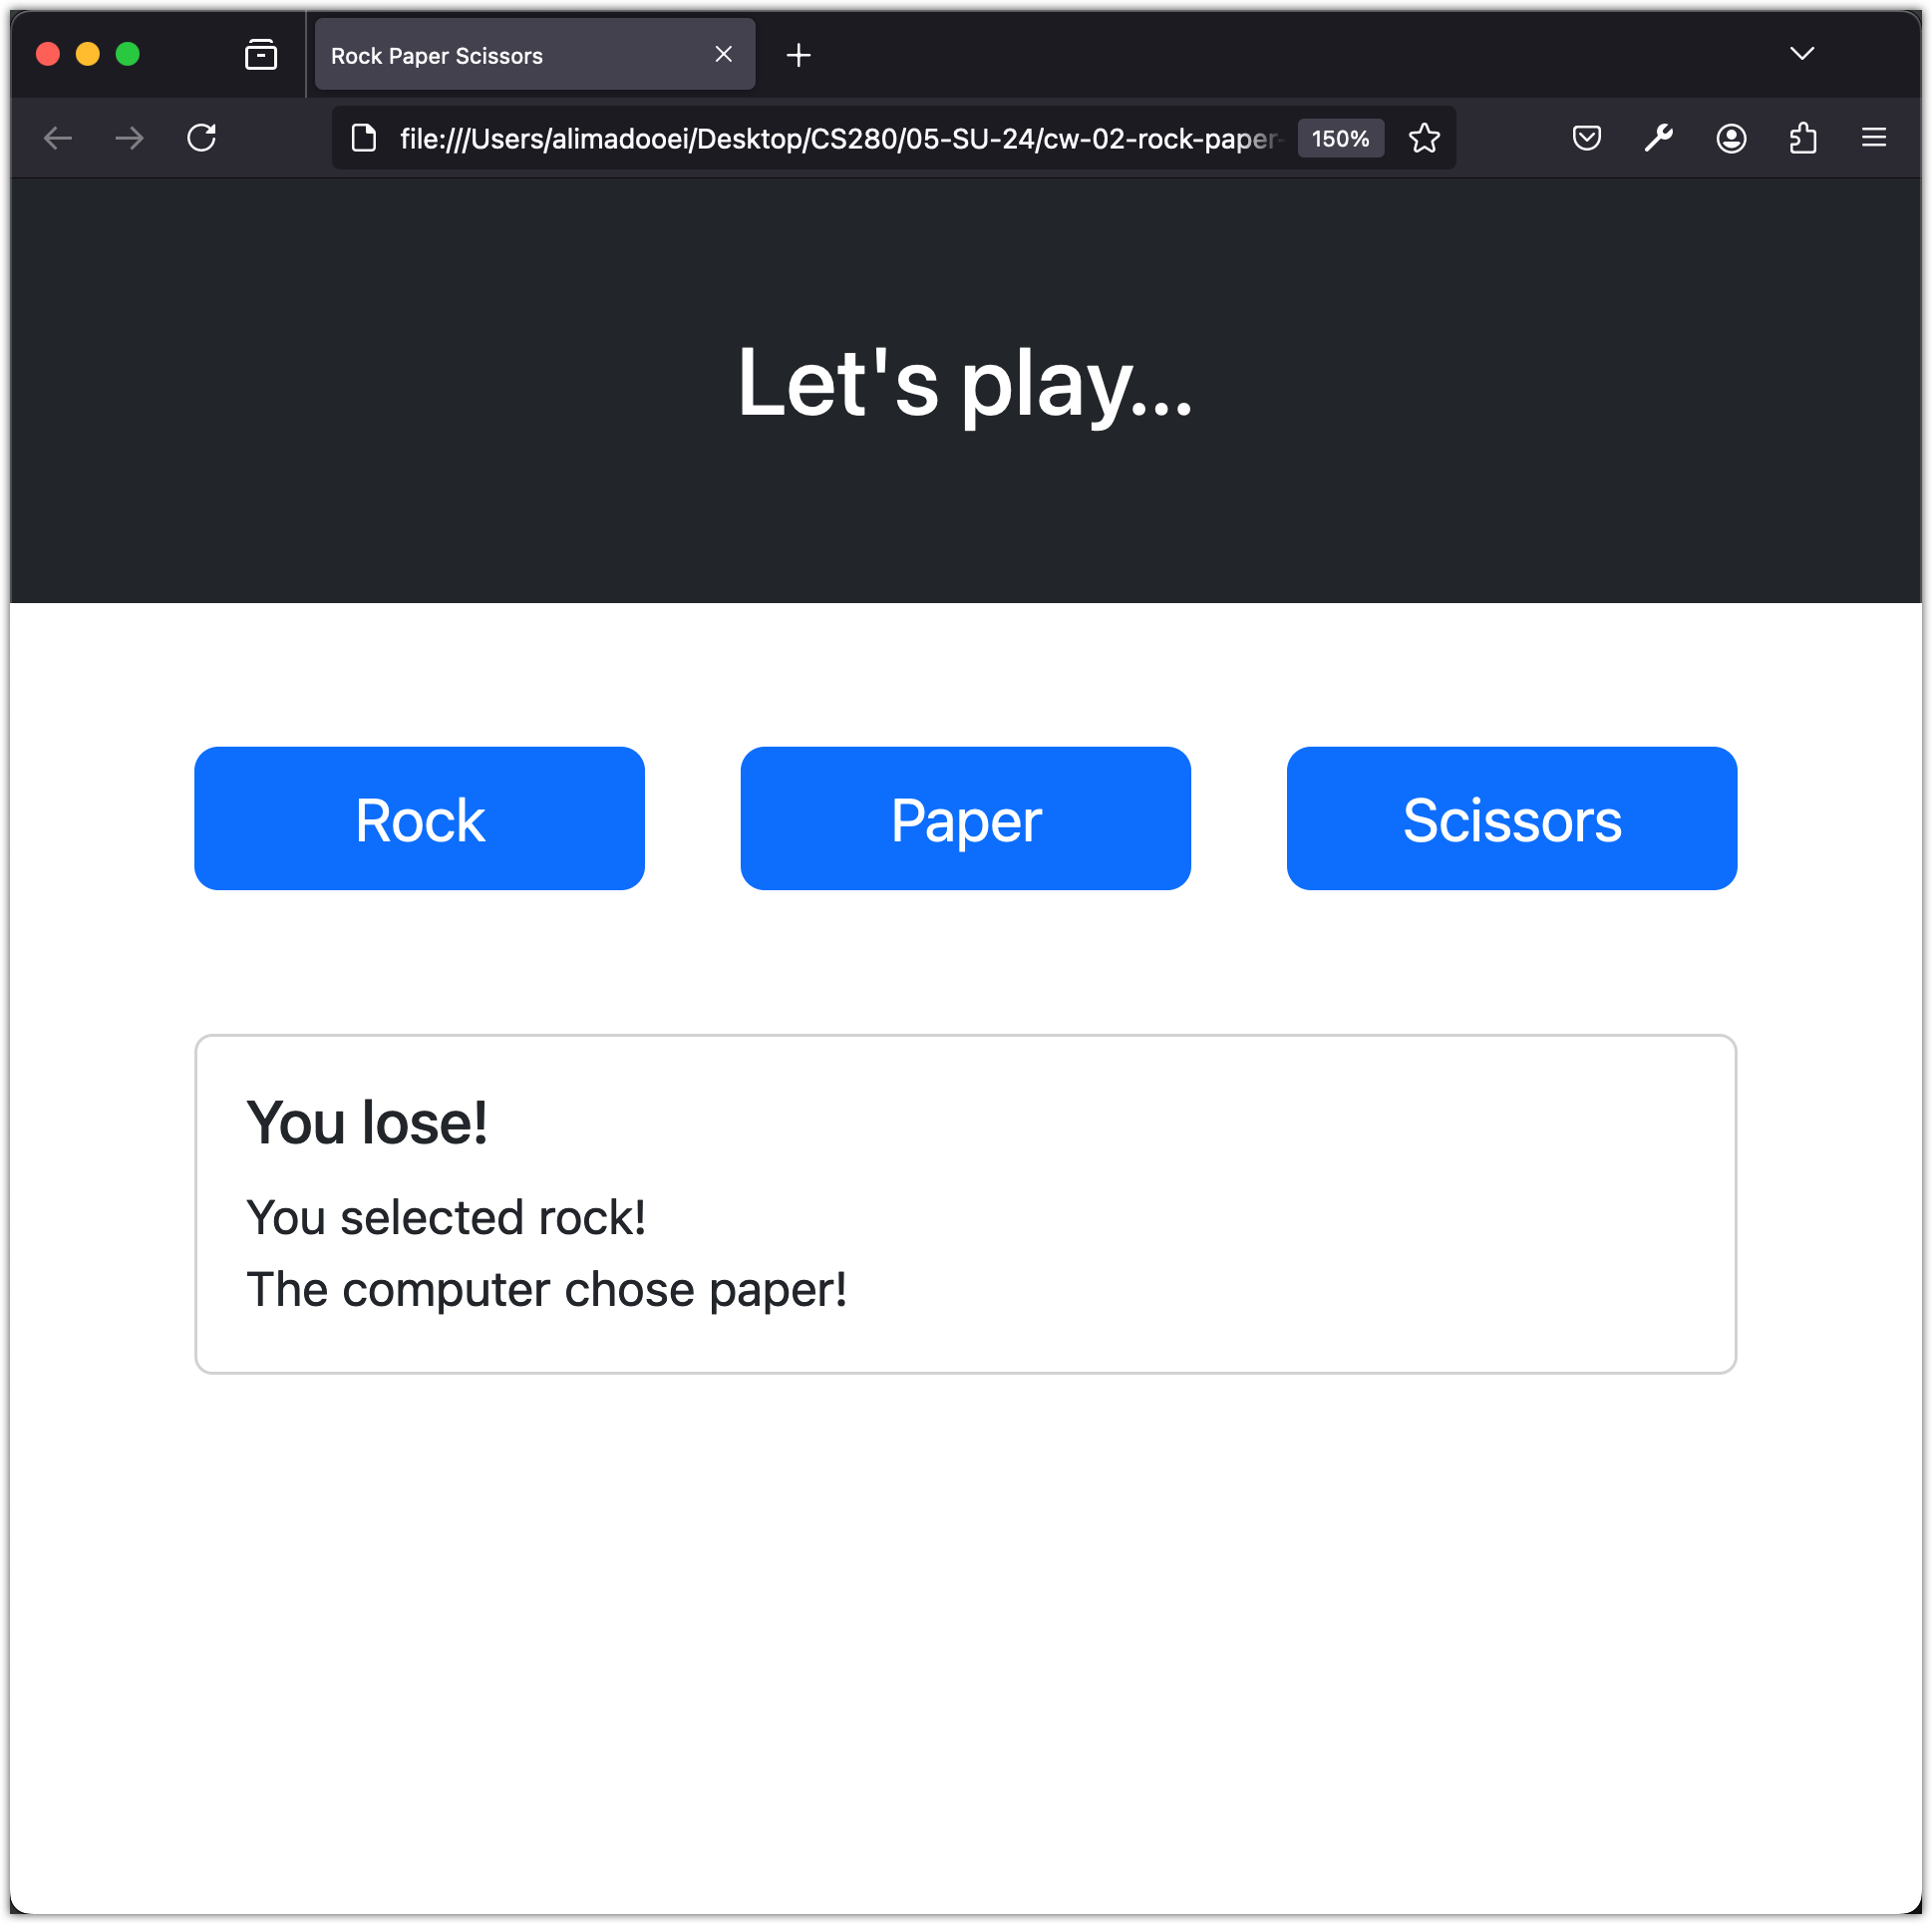
This completes the Rock Paper Scissors game.
Checkpoint: Commit your progress.
git add .
git commit -m "rps-04: Add game logic and display results"
git push