Structured Programming
In this task, we will implement the core functionality of our ToDo app with a focus on structured and procedural programming. In these paradigms, we build the program out of subroutines (also known as procedures or functions), block structures, loops for iteration, and conditional statements for decision-making. Writing the program that way makes it clearer, improves its quality, and shortens the time it takes to develop.
Initializing the State
Before we start manipulating the DOM, we need to initialize the state of our application. For that, we will use an array to store our todos and a few other variables to manage the app’s state.
In the main.js file, add the following code:
// Define the state of our app
const todos = [
  { id: 1, text: "Buy milk", completed: false },
  { id: 2, text: "Buy bread", completed: false },
  { id: 3, text: "Buy jam", completed: true },
];
let nextTodoId = 4;
let filter = "all";  // can be 'all', 'active', or 'completed'
Notice each todo is an object with three properties: id, text, and completed. The id property is a unique identifier for each todo, the text property contains the description of the todo, and the completed property is a boolean that indicates whether the todo is done or not.
The nextTodoId variable is used to generate unique id values for new todos. We start with 4 because we already have three todos in the initial state.
Rendering the Todos
We will create a function to render the todos based on the current state.
// Function to render the todos
function renderTodos() {
  const todoListElement = document.getElementById("todo-list");
  todoListElement.innerHTML = "";  // clear the current list

  // Loop through the filtered todos and add them to the DOM
  for (let i = 0; i < todos.length; i++) {
    const todo = todos[i];

    const todoItem = document.createElement("div");
    todoItem.classList.add("p-4", "todo-item");
    todoListElement.appendChild(todoItem);

    const todoText = document.createElement("div");
    todoText.classList.add("todo-text");
    todoText.textContent = todo.text;
    todoItem.appendChild(todoText);

    const todoEdit = document.createElement("input");
    todoEdit.classList.add("hidden", "todo-edit");
    todoEdit.value = todo.text;
    todoItem.appendChild(todoEdit);
  }
}
At a high level, this function does the following:
-
Clear the existing list of todos by setting the
innerHTMLof thetodoListElementto an empty string. This ensures that we start with an empty list each time we render the todos. -
Loop through the todos and create a new
divelement for each todo. This element contains the todo text and an input field for editing it, matching the sample todo items in theindex.htmlfile.
Initializing the App on Page Load
Instead of directly calling the renderTodos function, we will bind it to an event listener that triggers when the entire content of the page is loaded.
// Event listener to initialize the app after the DOM content is fully loaded
document.addEventListener("DOMContentLoaded", renderTodos);
This way, our app initializes only after all the DOM elements are available. The same idea comes up again when you work with frameworks like React, where you need to understand component lifecycle methods and how they relate to the DOM.
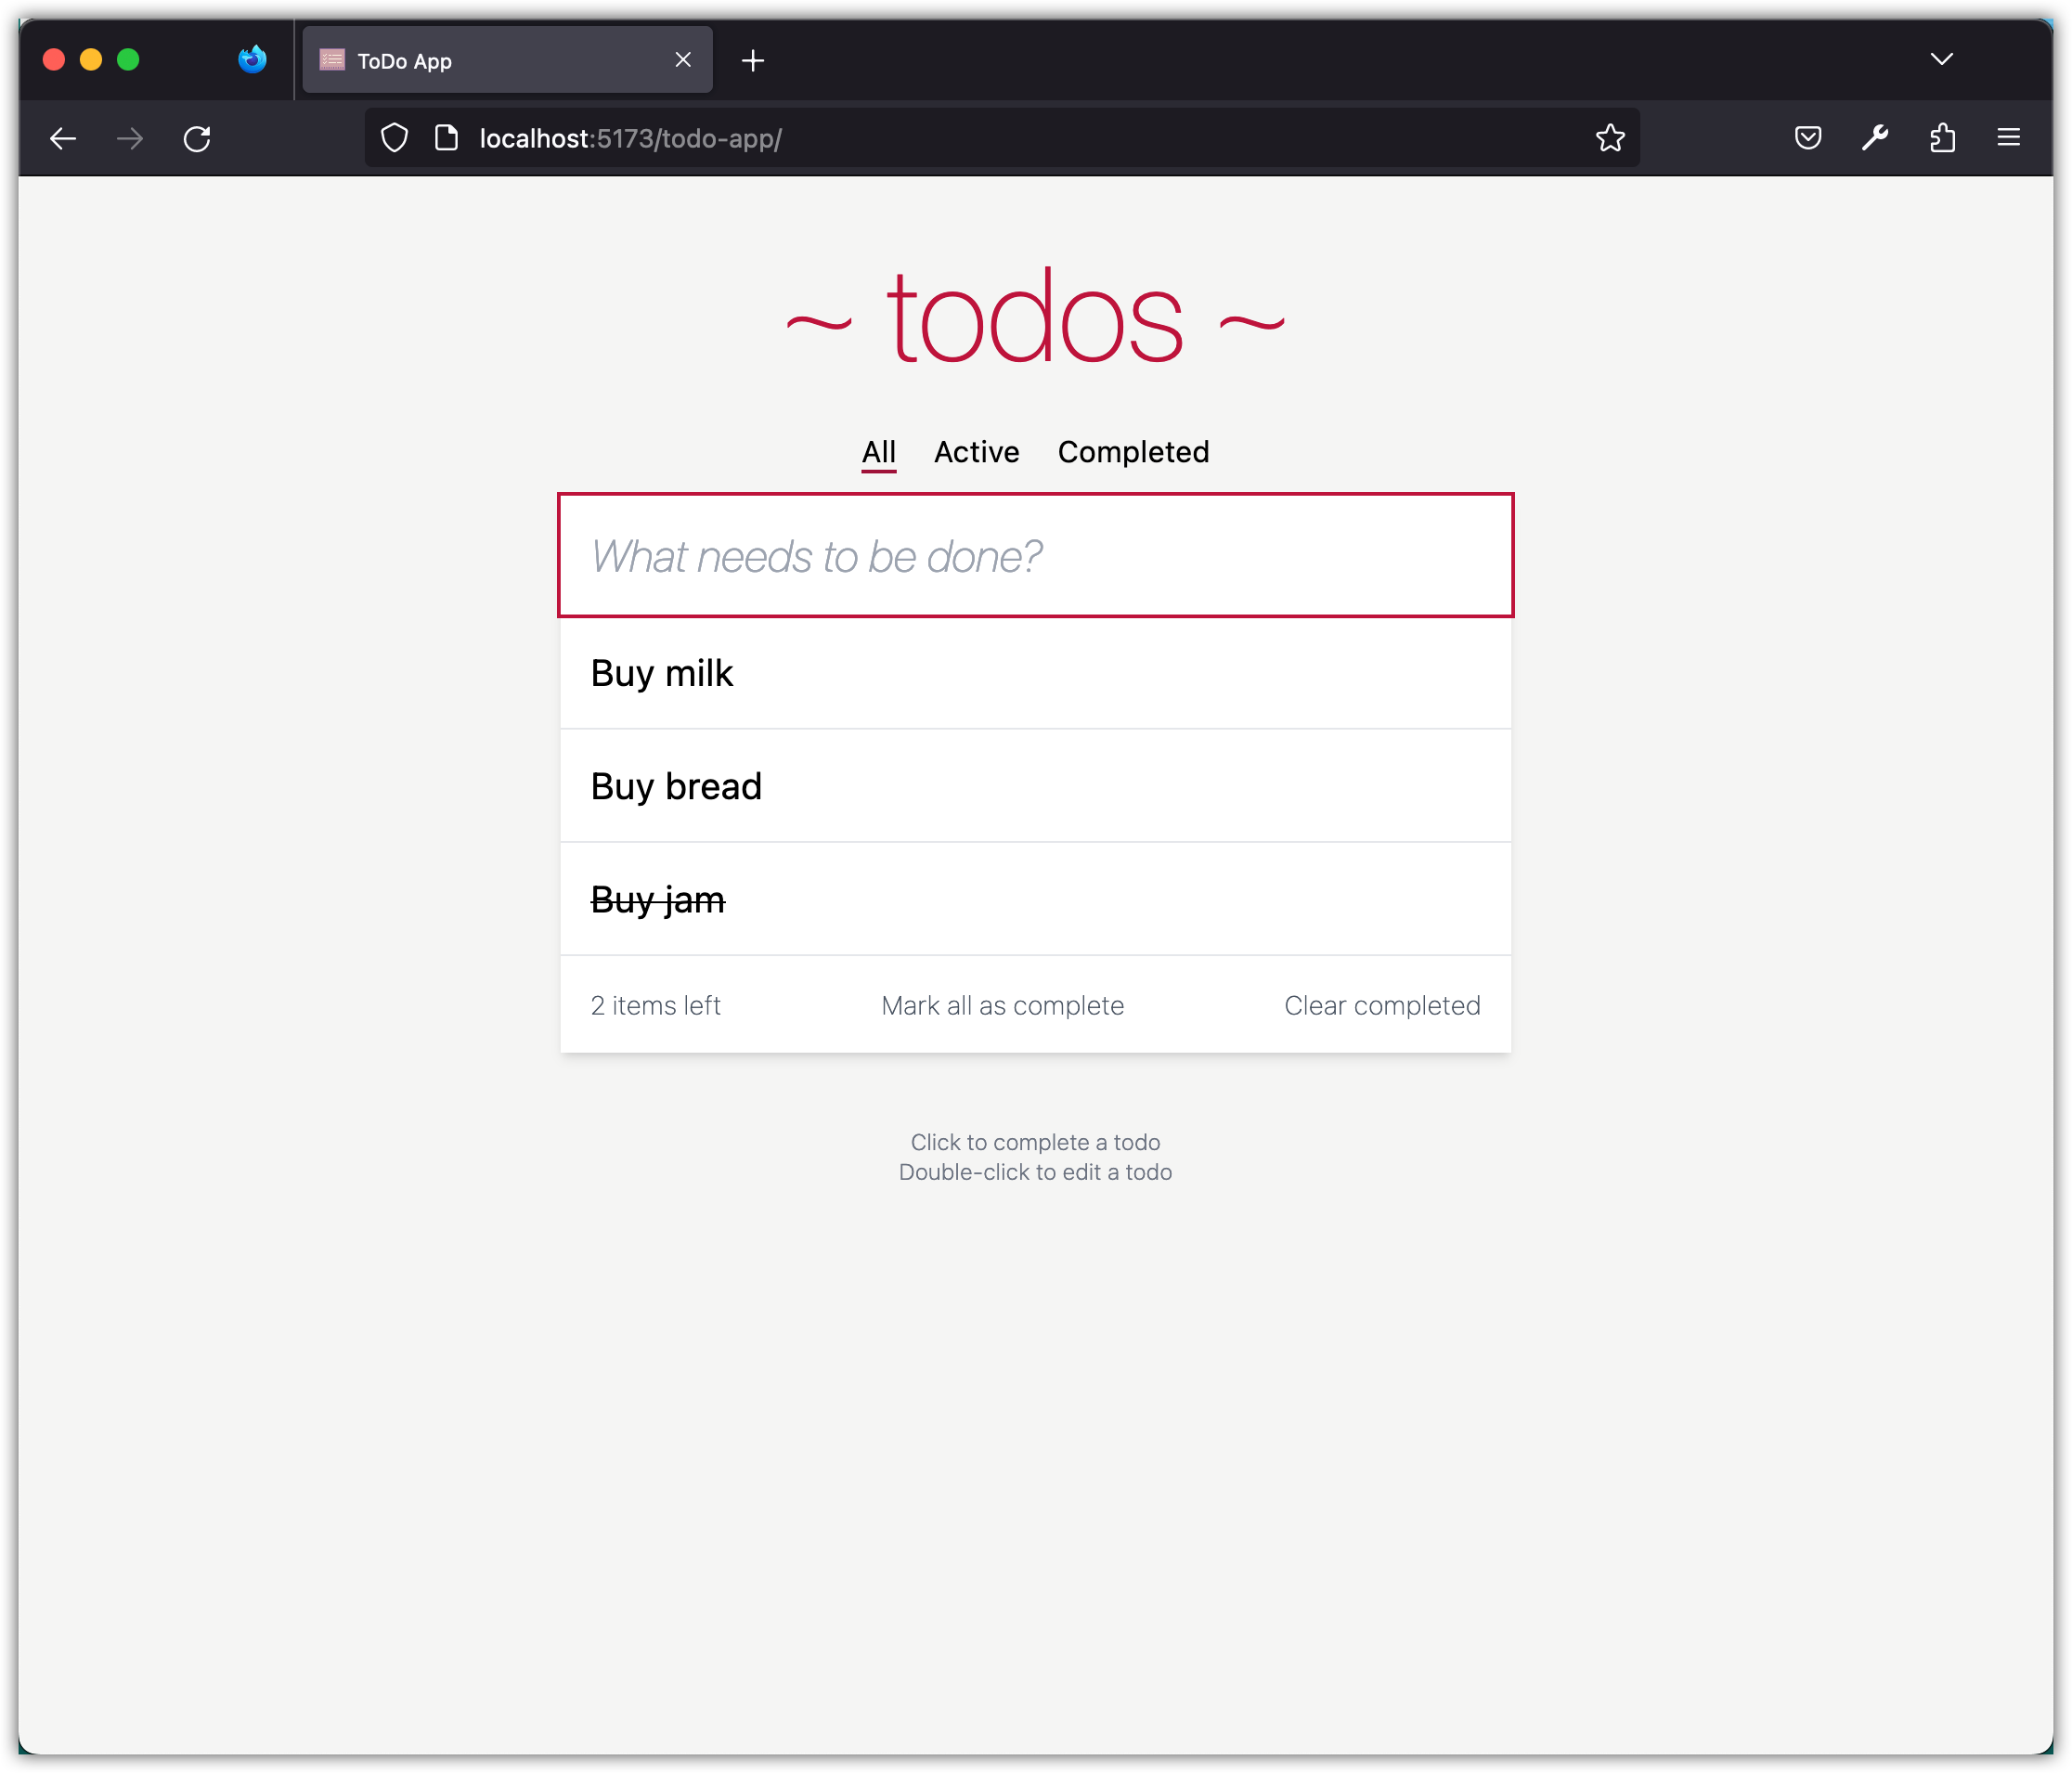
Run the app and check if the todos are rendered correctly on the page.
Handling New Todo Input
When the user types a new todo and presses Enter, we will add it to the list. To implement this functionality, we will create a function that listens for the keydown event on the input field.
// Function to handle adding a new todo
function handleNewTodoKeyDown(event) {
  const newTodoInput = event.target;
  const todoText = newTodoInput.value.trim();
  if (event.key === "Enter" && todoText !== "") {
    todos.push({ id: nextTodoId++, text: todoText, completed: false });
    newTodoInput.value = "";  // clear the input
    renderTodos();
  }
}

const newTodoInput = document.getElementById("new-todo");
newTodoInput.addEventListener("keydown", handleNewTodoKeyDown);
Let’s break down the handleNewTodoKeyDown function:
-
Event Parameter: The function accepts an
eventparameter, which is automatically passed by the browser when an event listener triggers this function. Thiseventobject contains information about the event, such as which element triggered it. -
Extracting the Input Value:
const newTodoInput = event.target;
const todoText = newTodoInput.value.trim();
We first extract the input element (
newTodoInput) from the event object usingevent.target. We then retrieve the value of the input field and remove any leading or trailing whitespace using thetrim()method. This ensures that we do not add todos that are just empty spaces. -
Checking the Key Pressed:
if (event.key === 'Enter' && todoText !== '') {We check if the key pressed by the user is the
Enterkey (event.key === 'Enter') and if the input field is not empty (todoText !== ''). -
Adding the New Todo:
todos.push({ id: nextTodoId++, text: todoText, completed: false });If the conditions are met, we add a new todo to the
todosarray. We generate a uniqueidfor the new todo usingnextTodoId++, set thetextproperty to the trimmed input value, and initialize thecompletedproperty tofalse. -
Clearing the Input Field:
newTodoInput.value = ""; // clear the inputThen, we clear the input field to prepare it for the next todo entry.
-
Re-rendering the Todos:
renderTodos();Finally, we call the
renderTodosfunction to update the displayed todos with the new addition.
Styling Completed Todos
We will add a line-through style to the text of completed todos so they look different from the active ones. Update the renderTodos function to apply this style based on the completed property of each todo.
  // Function to render the todos
  function renderTodos() {
    const todoListElement = document.getElementById("todo-list");
    todoListElement.innerHTML = "";  // clear the current list

    // Loop through the filtered todos and add them to the DOM
    for (let i = 0; i < todos.length; i++) {
      const todo = todos[i];

      const todoItem = document.createElement("div");
      todoItem.classList.add("p-4", "todo-item");
      todoListElement.appendChild(todoItem);

      const todoText = document.createElement("div");
      todoText.classList.add("todo-text");
+     if (todo.completed) {
+       todoText.classList.add("line-through");
+     }
      todoText.textContent = todo.text;
      todoItem.appendChild(todoText);

      const todoEdit = document.createElement("input");
      todoEdit.classList.add("hidden", "todo-edit");
      todoEdit.value = todo.text;
      todoItem.appendChild(todoEdit);
    }
  }
Run the app and check if the todos are rendered correctly on the page.
Checkpoint: Commit your progress.
git add .
git commit -m "todos-07: Initialize state and render todos"
git push